Member Details
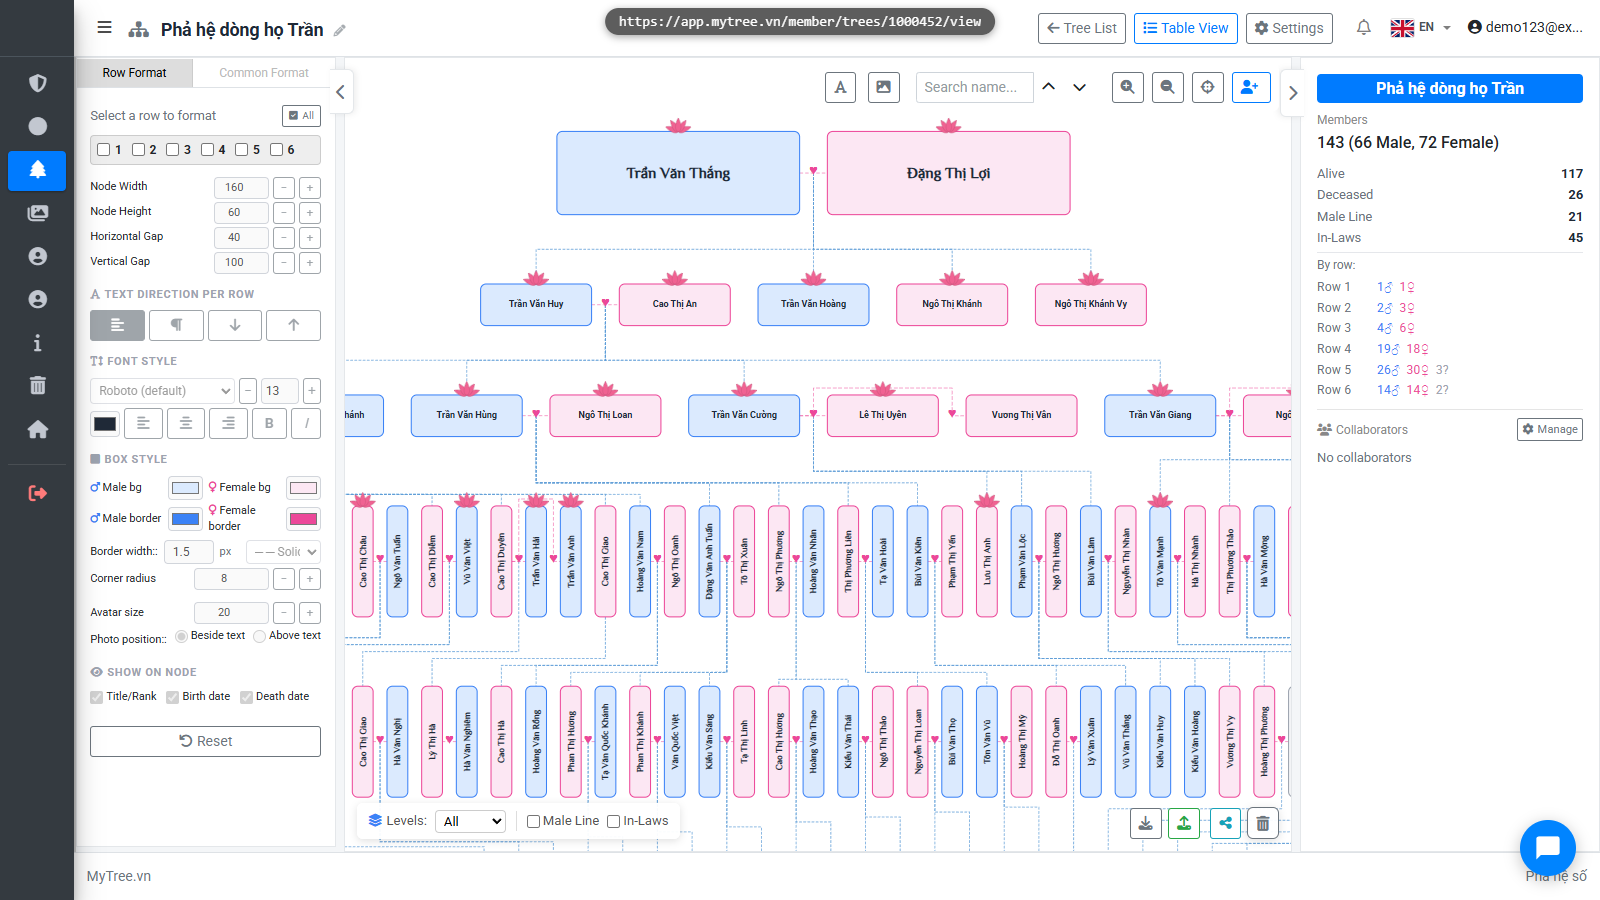
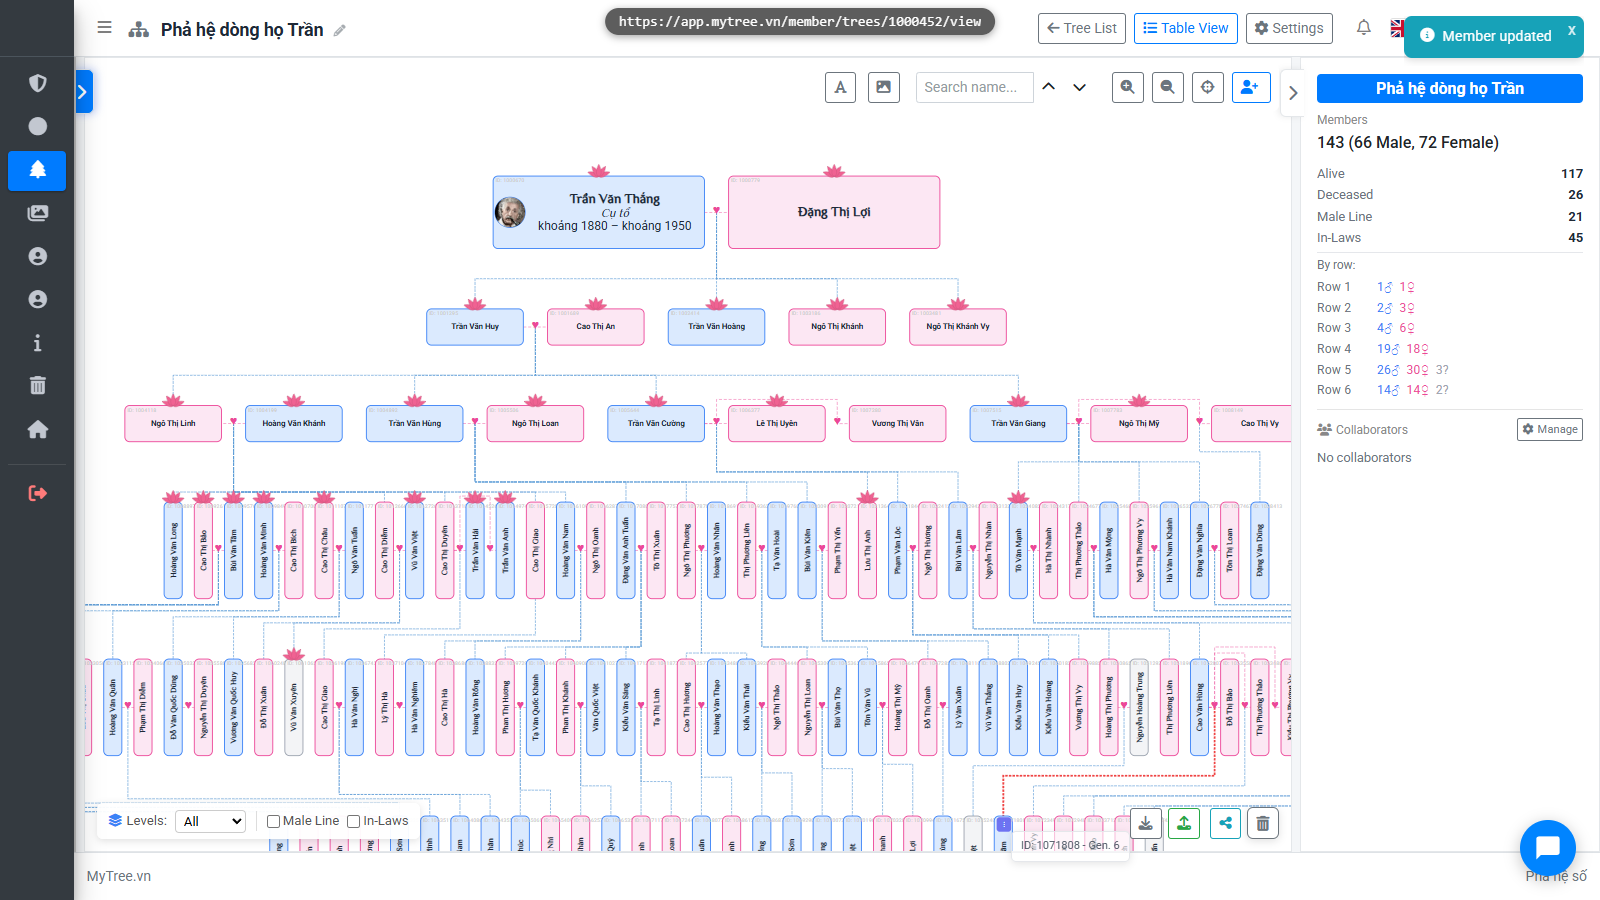
Step 1: Family Tree Overview
Welcome to MyTree! In this tutorial, we'll walk you through how to add and edit detailed information for each family member.
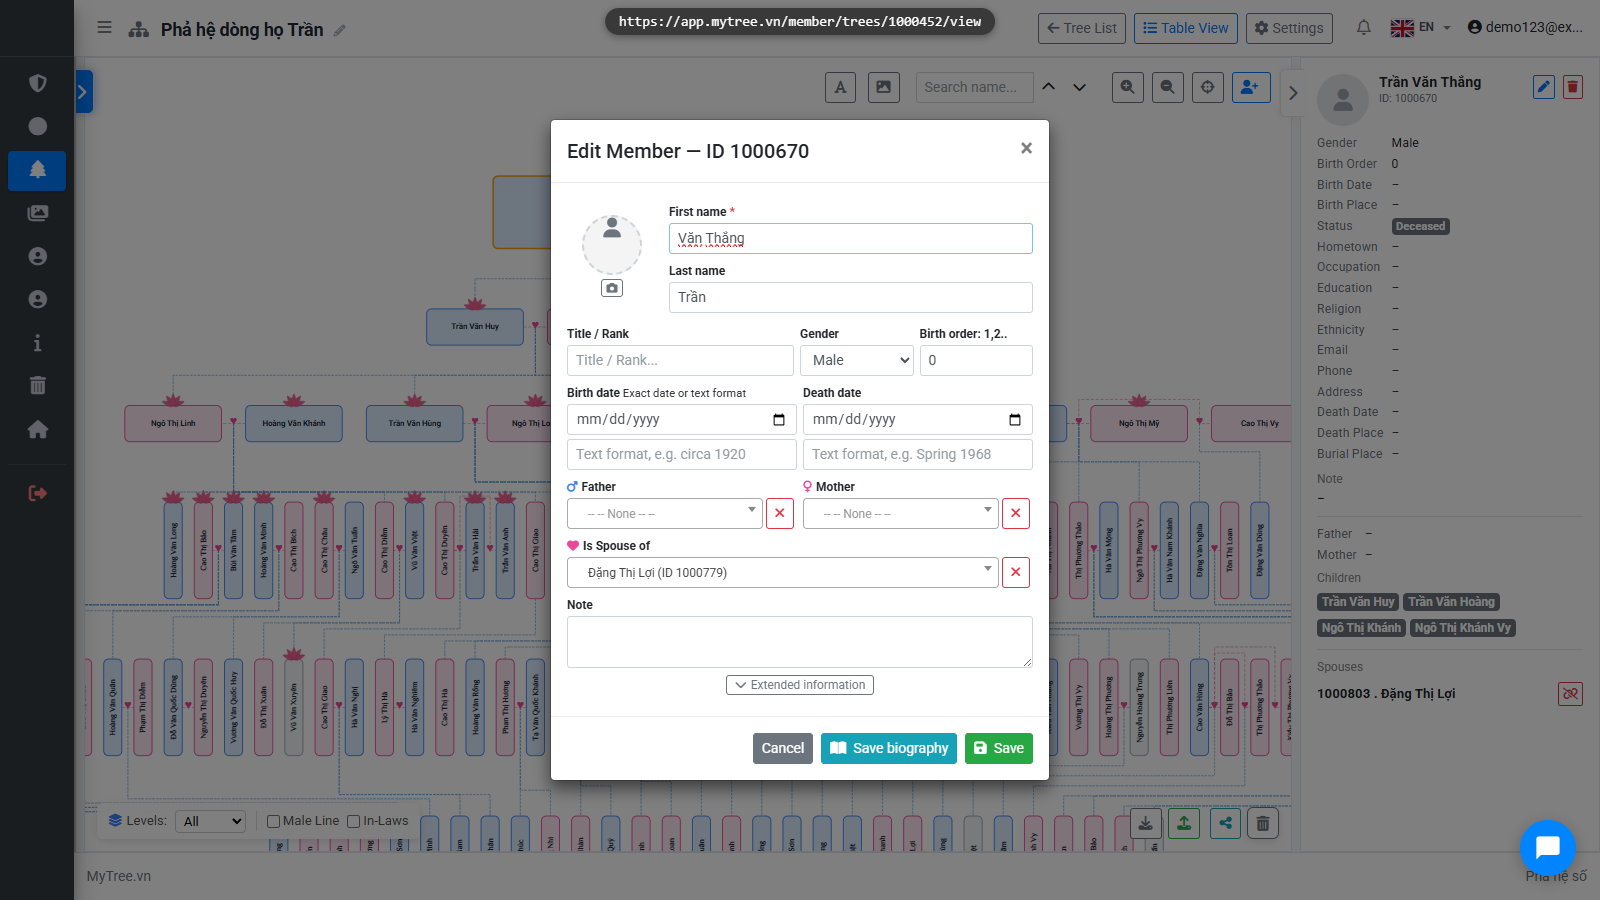
Step 2: Member Information Modal
To open a member's information, double-click on the member box in the tree, or right-click and select Edit.
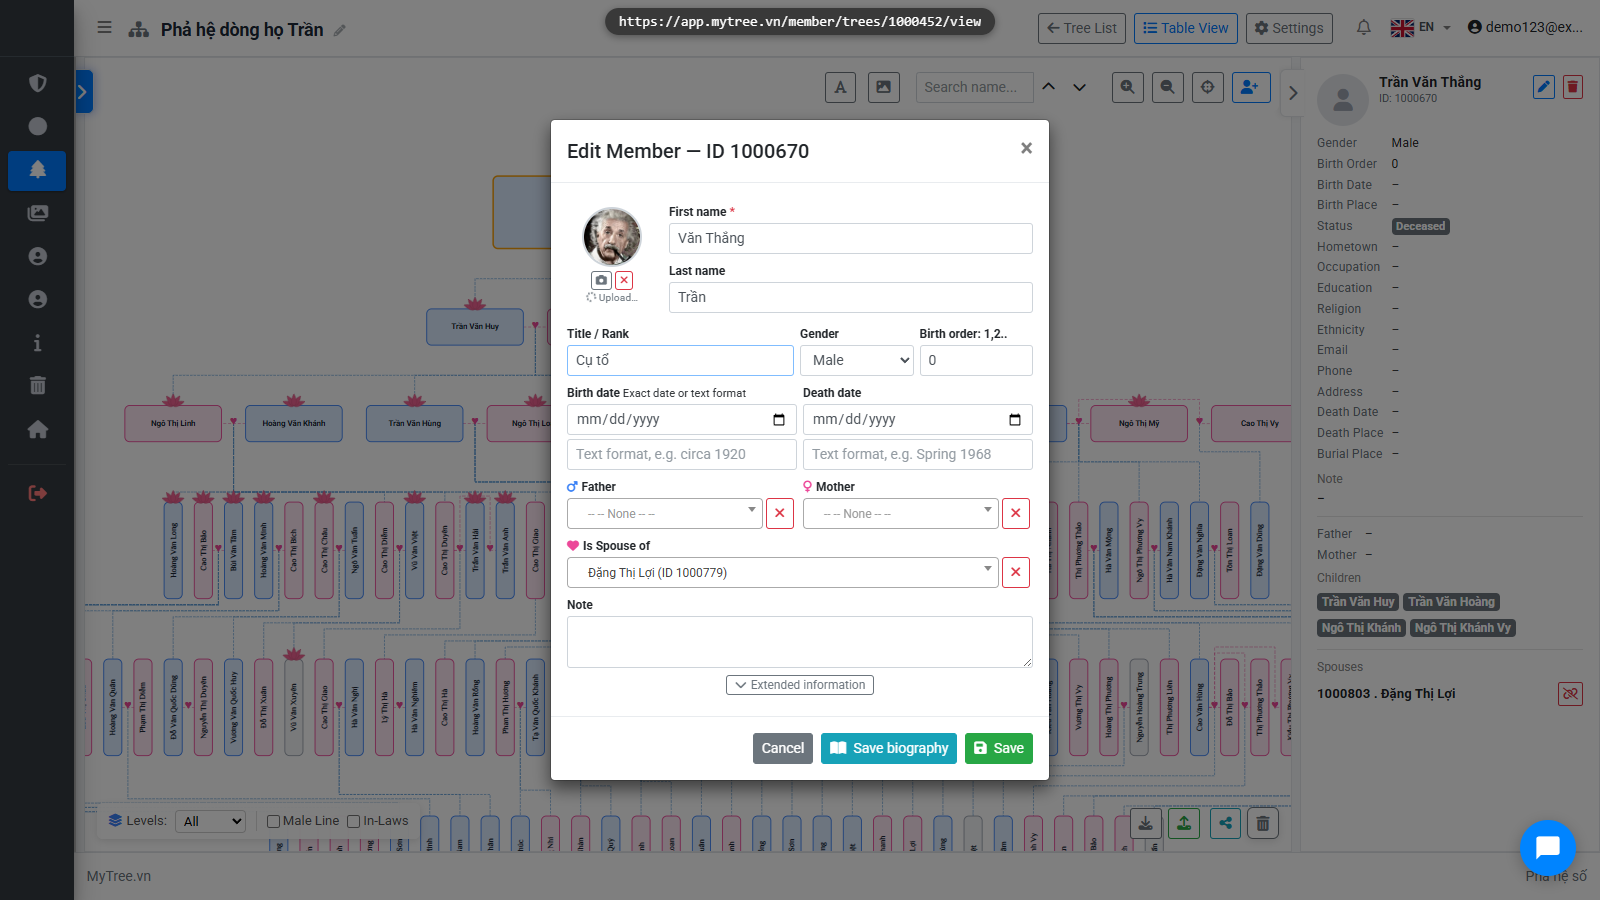
Step 3: Profile Photo Uploaded
Click on the profile photo area to choose an image from your computer. The photo will be automatically cropped and saved. A square photo works best for display.
![]()
Step 4: Basic Information
Fill in the full name, gender, and title.
Step 5: Birth and Death Dates
Enter birth and death years. If you don't remember the exact date, use the text field — for example: around 1920. If both a text entry and a date are provided, the system displays the text version.
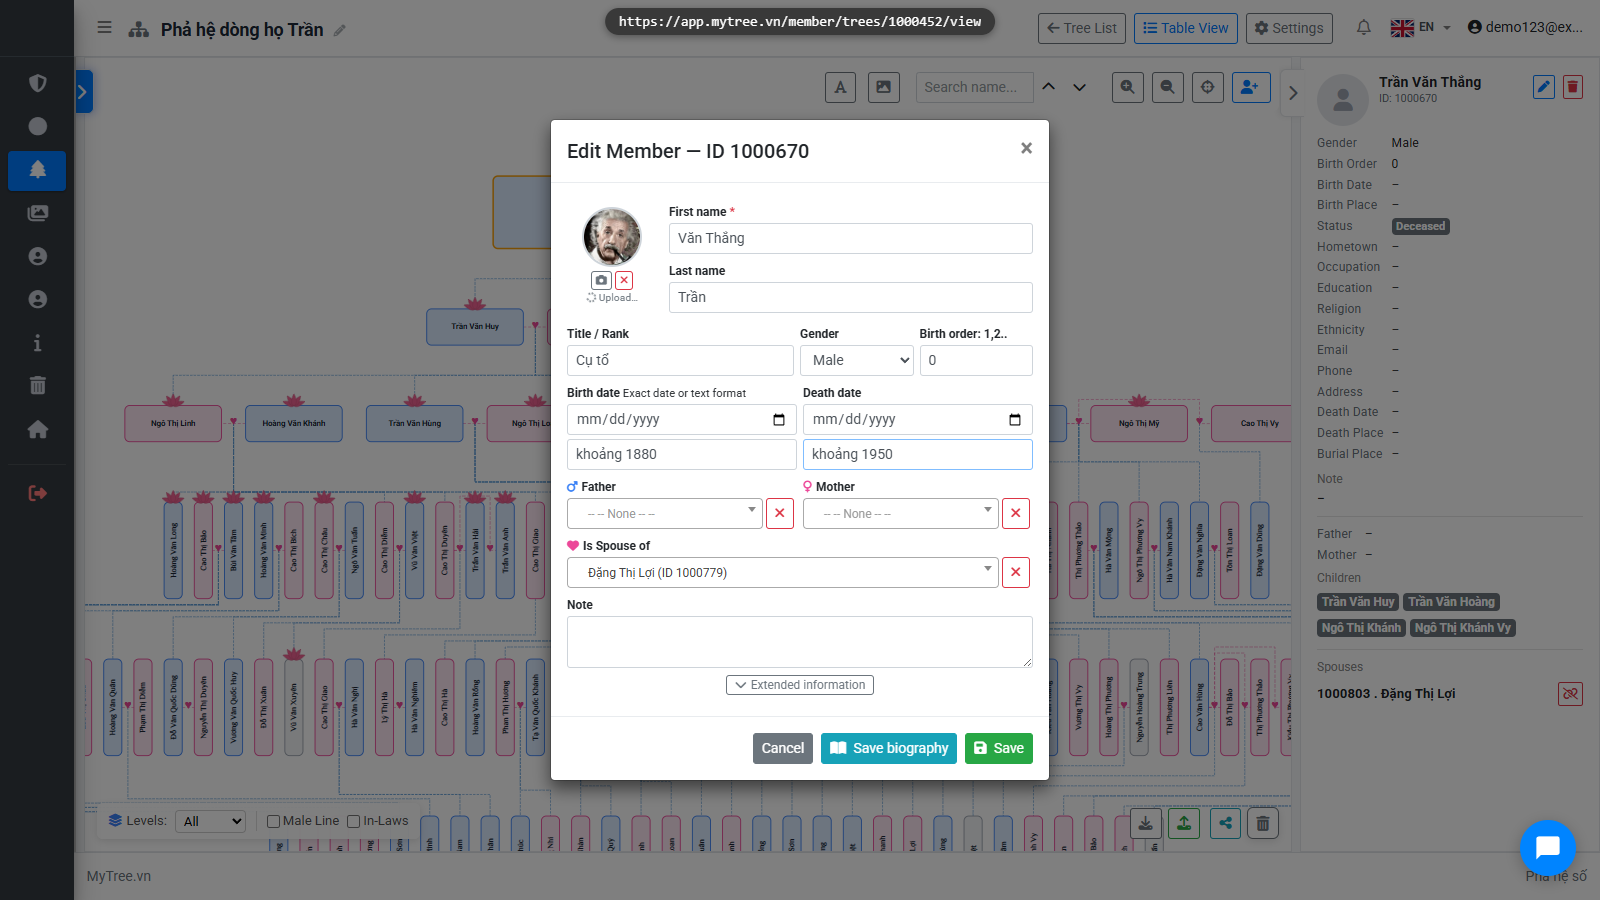
Step 6: Member Note
The Note field is for a short summary about the member.

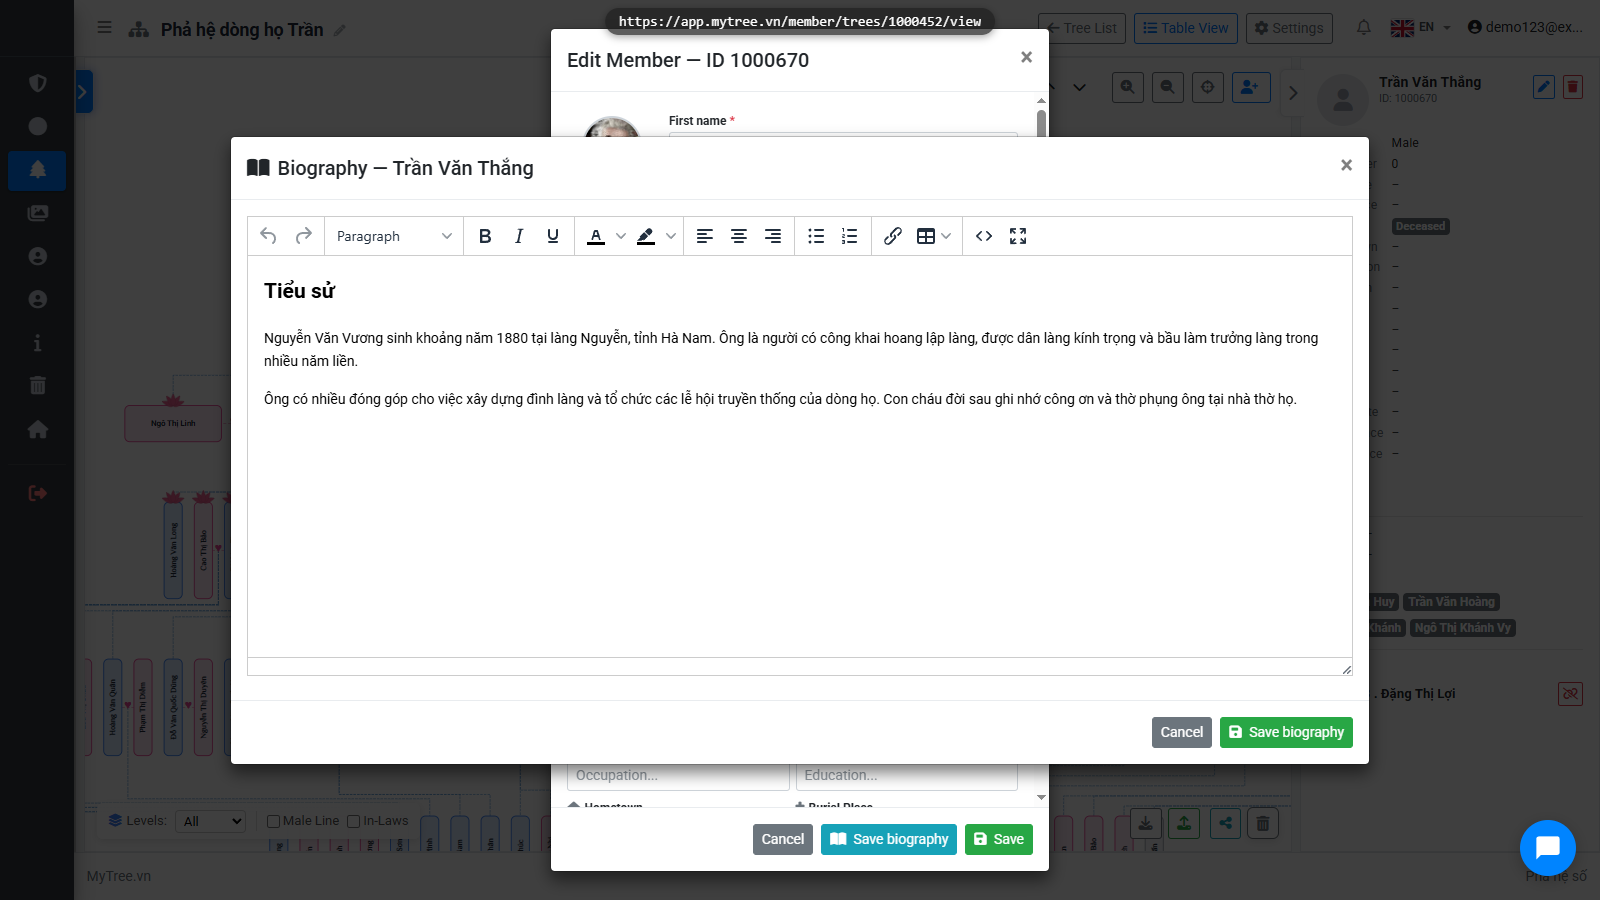
Step 7: Member Biography
Click the Biography button to open the rich text editor. Here you can write detailed content, insert images, and format text — up to about ten thousand characters.
![]()
Step 8: Member Biography
Click the Biography button to open the rich text editor. Here you can write detailed content, insert images, and format text — up to about ten thousand characters.
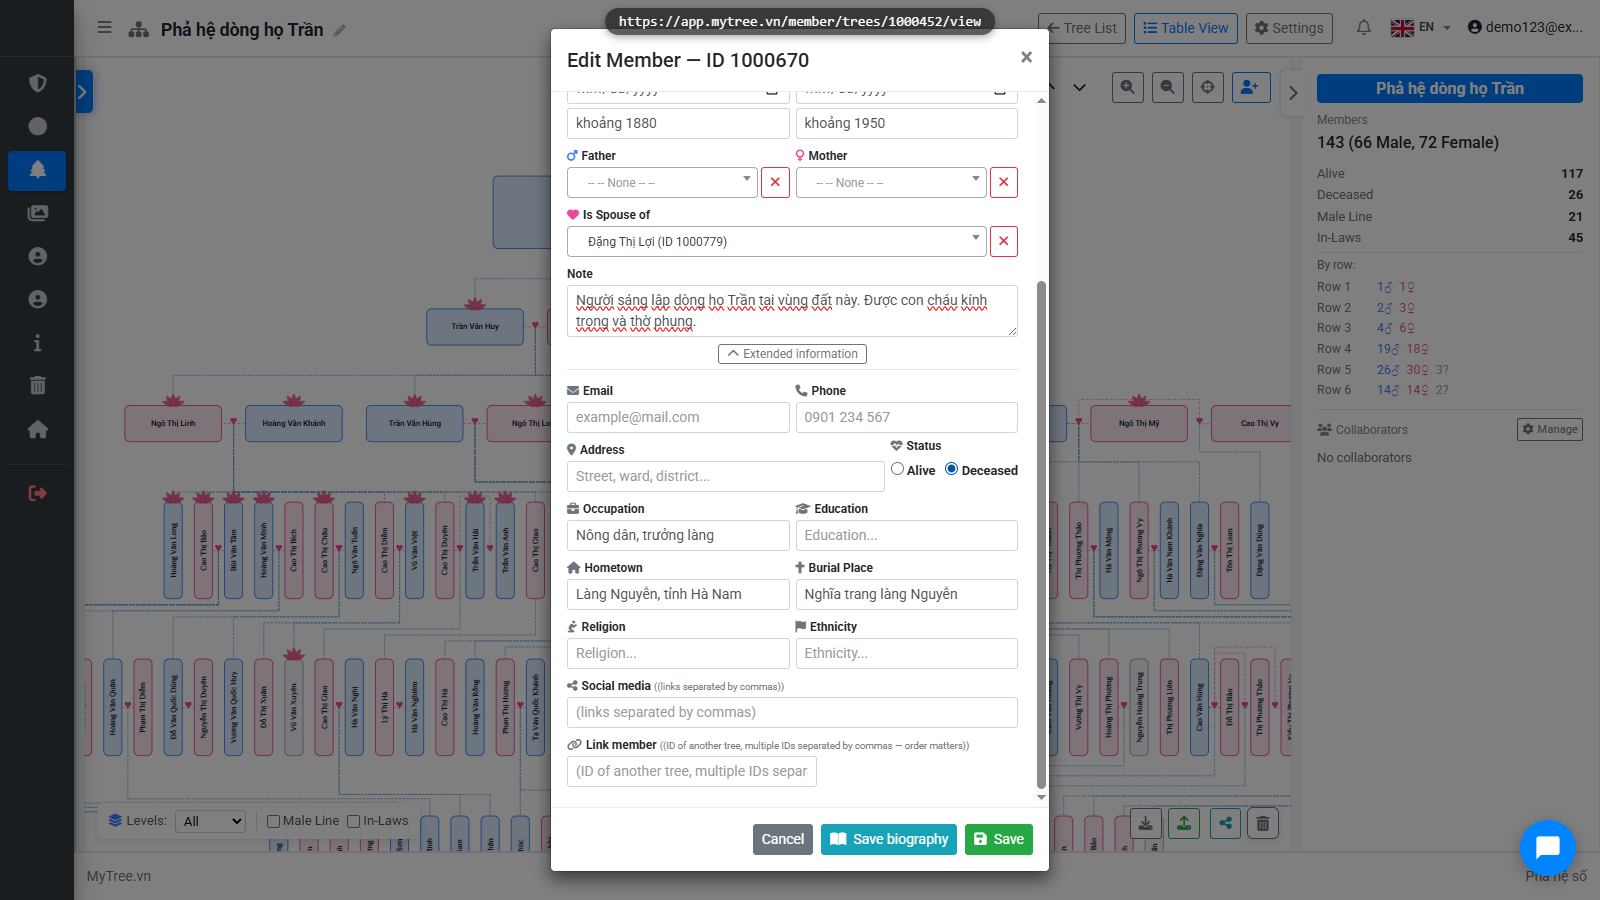
Step 9: Extended Information
Click Extended Info to add more details: email, phone, address, occupation, education, hometown, and other fields.
![]()
Step 10: Living Status
Select the status: Living or Deceased.
Step 11: Member Info Saved
Click Save to store the information.
Step 12: Besides the tree view, you can see all members in a table by clicking the List b
Besides the tree view, you can see all members in a table by clicking the List button in the top corner.

Step 13: To delete a member, right-click on the box and select Delete Member. The member
To delete a member, right-click on the box and select Delete Member. The member is moved to the Trash.
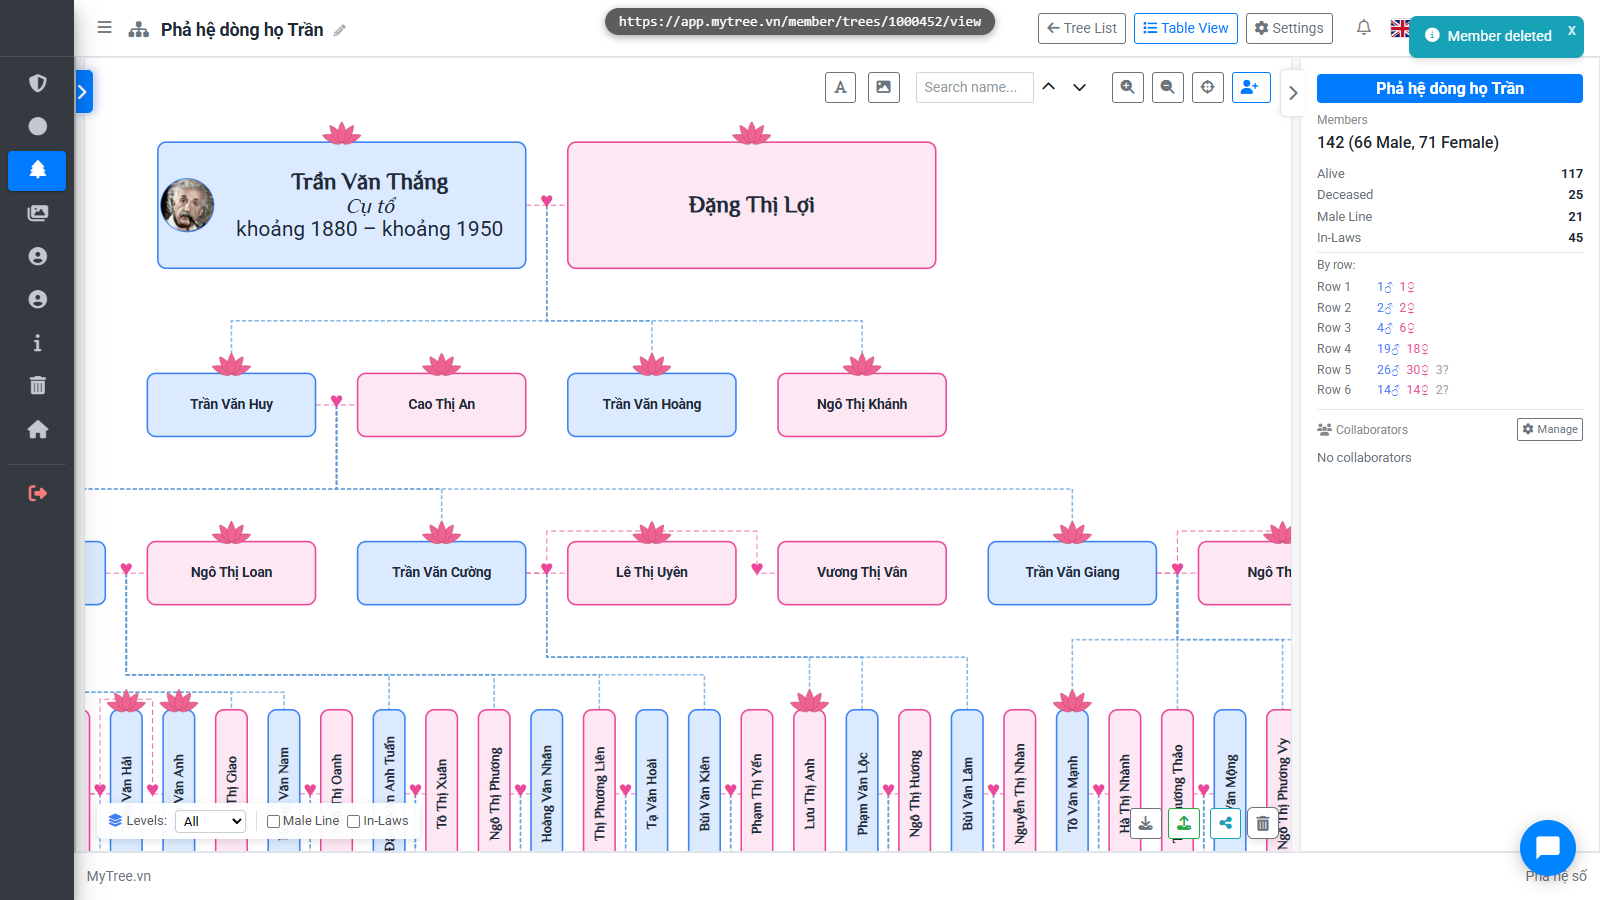
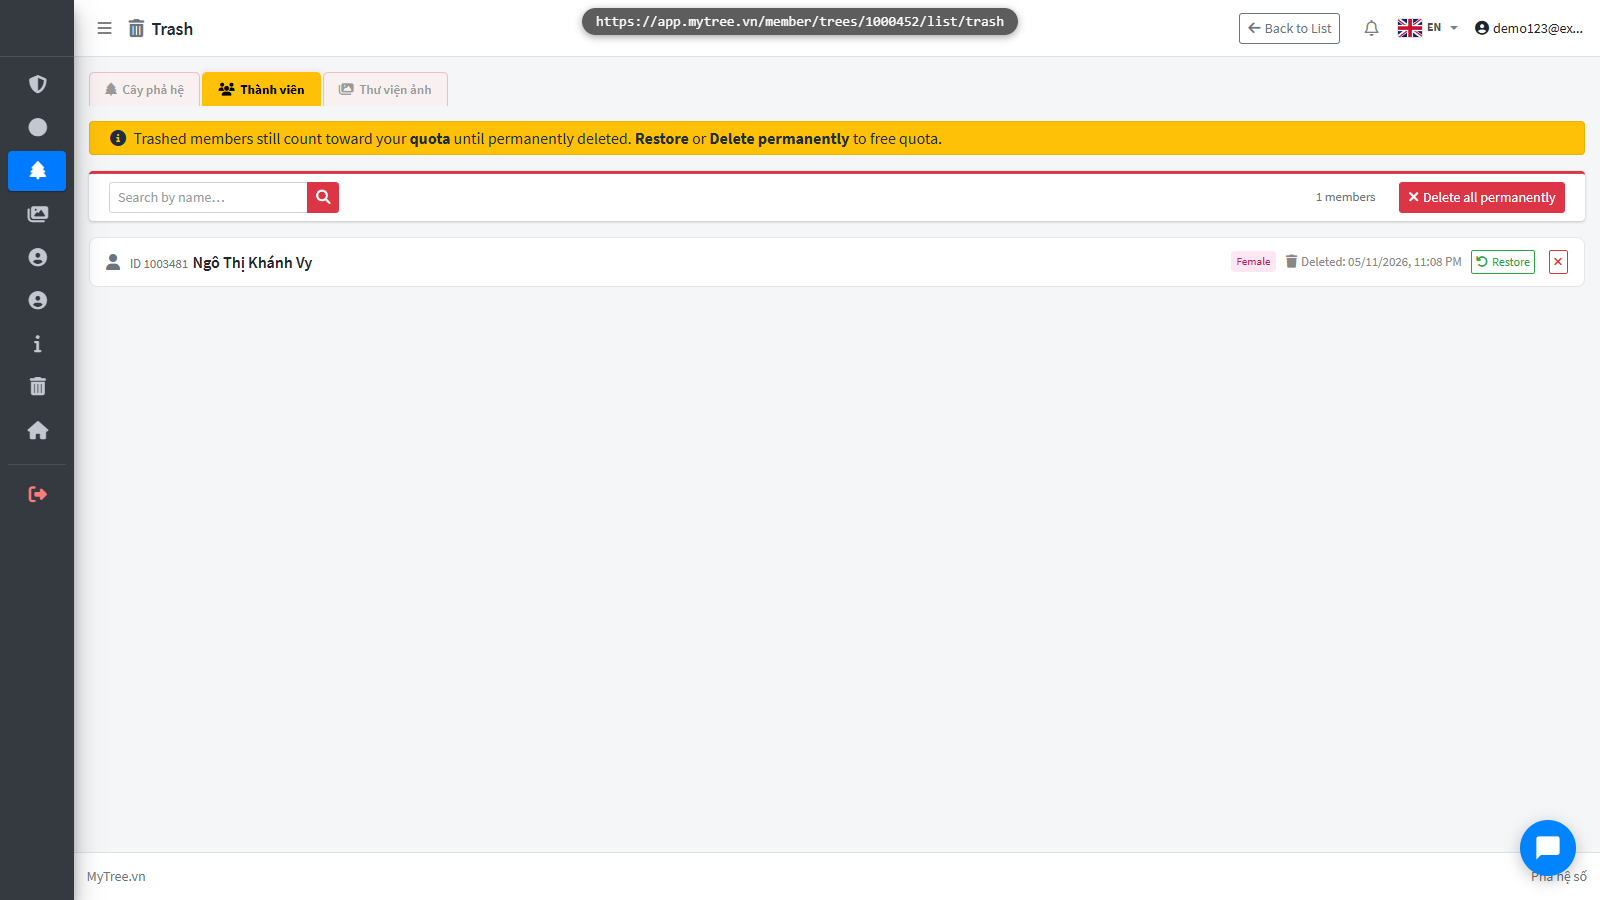
Step 14: Member Trash
Go to the Trash to see deleted members. You can restore or permanently delete them from here.
![]()
Step 15: Member Trash
Go to the Trash to see deleted members. You can restore or permanently delete them from here.