Format the Family Tree Layout
Step 1: Family Tree View
Welcome to Mytree! In this tutorial, we'll explore how to format and customize your family tree exactly how you want it.
Step 2: Collapse Panels
In the tree editor, you can collapse panels you're not using to get more screen space. Click the toggle buttons to show or hide them.
![]()
Step 3: Collapse Panels
In the tree editor, you can collapse panels you're not using to get more screen space. Click the toggle buttons to show or hide them.
Step 4: Collapse Panels
In the tree editor, you can collapse panels you're not using to get more screen space. Click the toggle buttons to show or hide them.
![]()
Step 5: Collapse Panels
In the tree editor, you can collapse panels you're not using to get more screen space. Click the toggle buttons to show or hide them.

Step 6: Wide Tree View
This is a sample tree with over 140 members and quite a wide layout. We'll adjust the formatting to fit.
Step 7: Format Settings Panel
The formatting panel is on the left side of the screen. It has two tabs: Row Format and General Format.

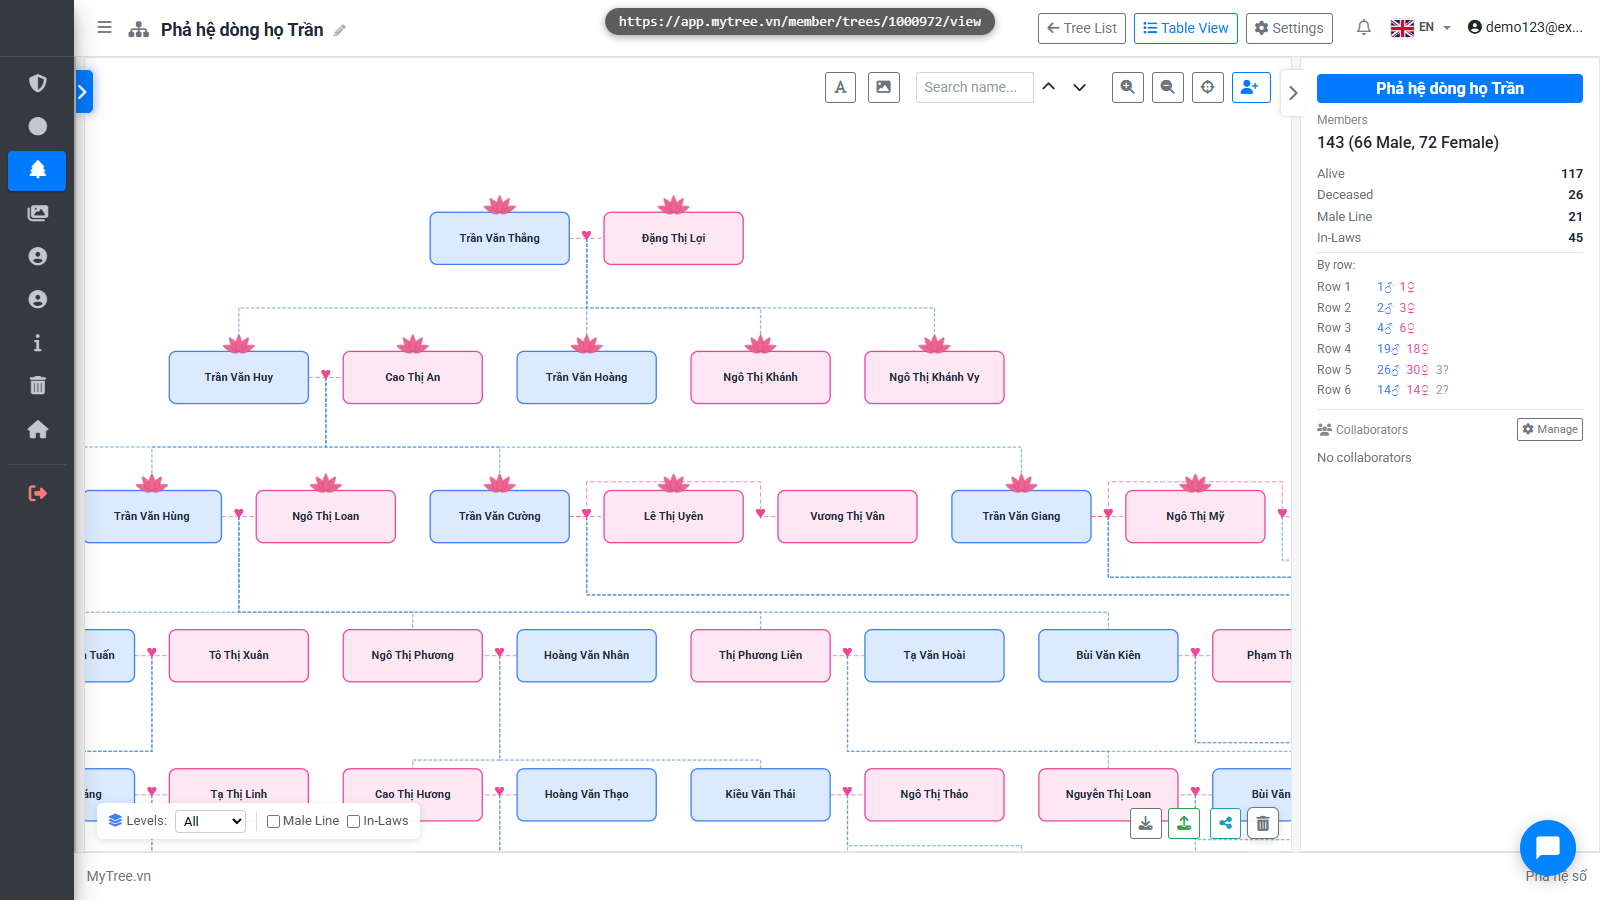
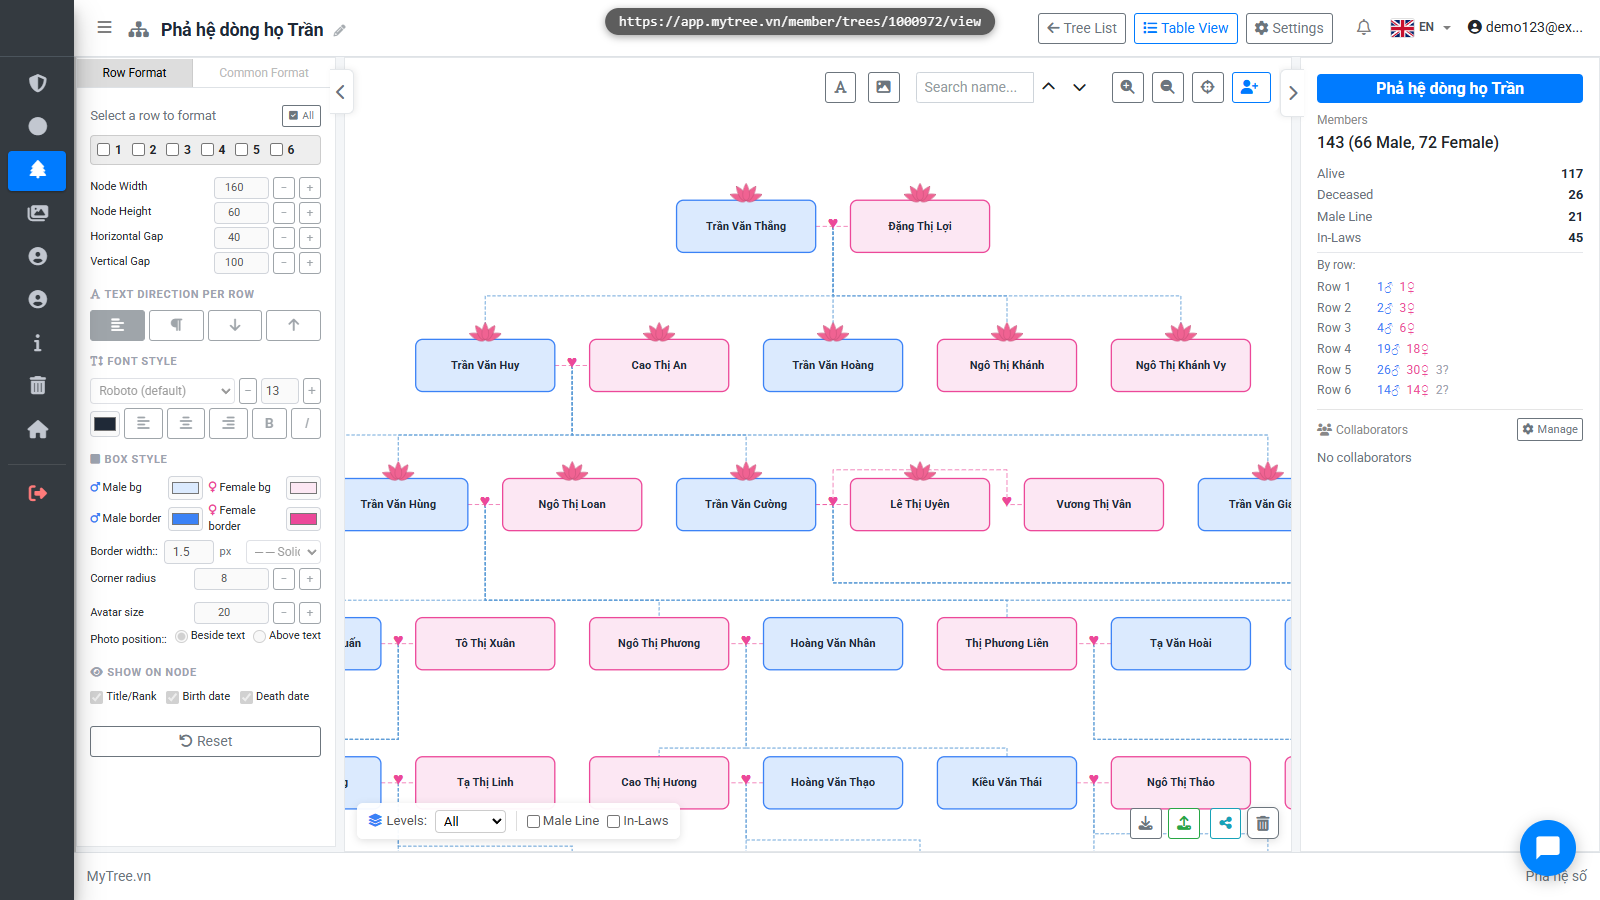
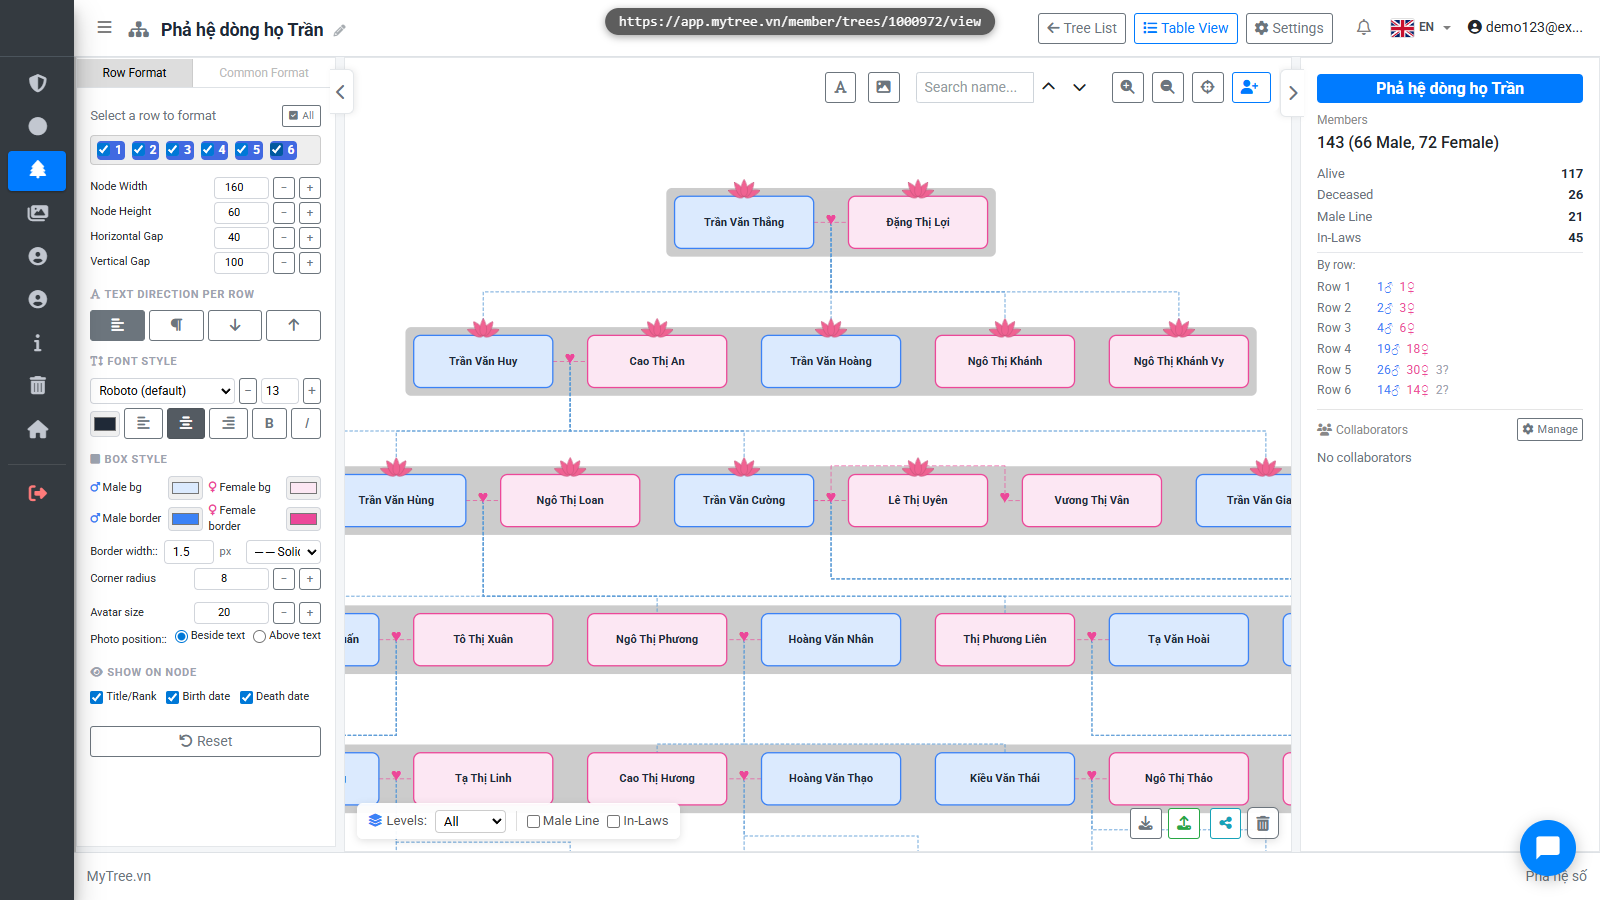
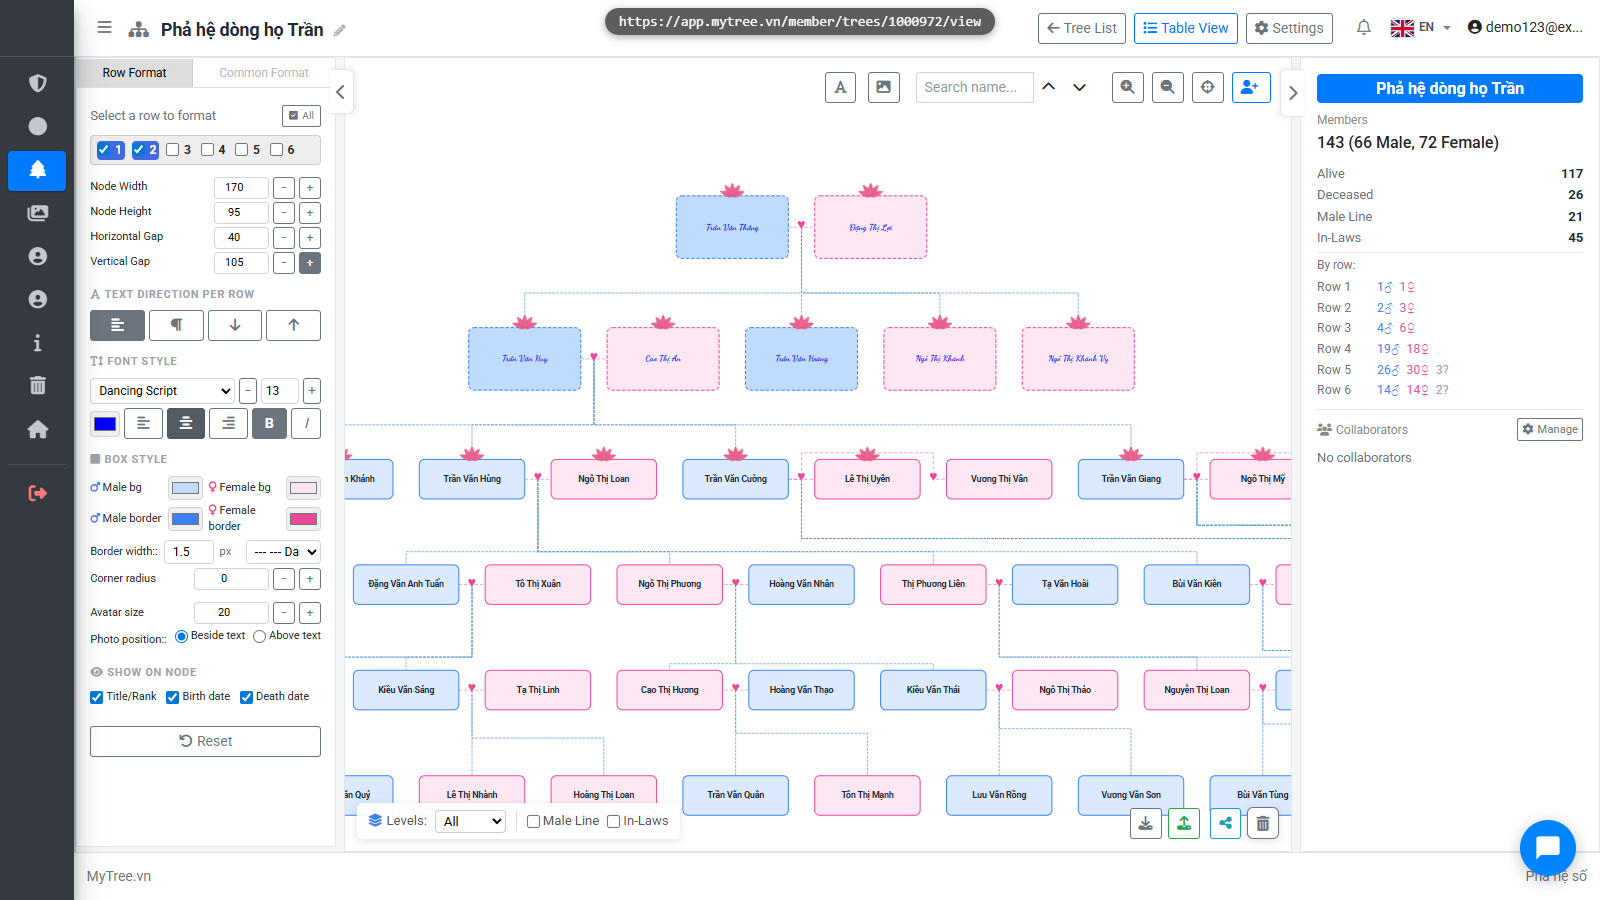
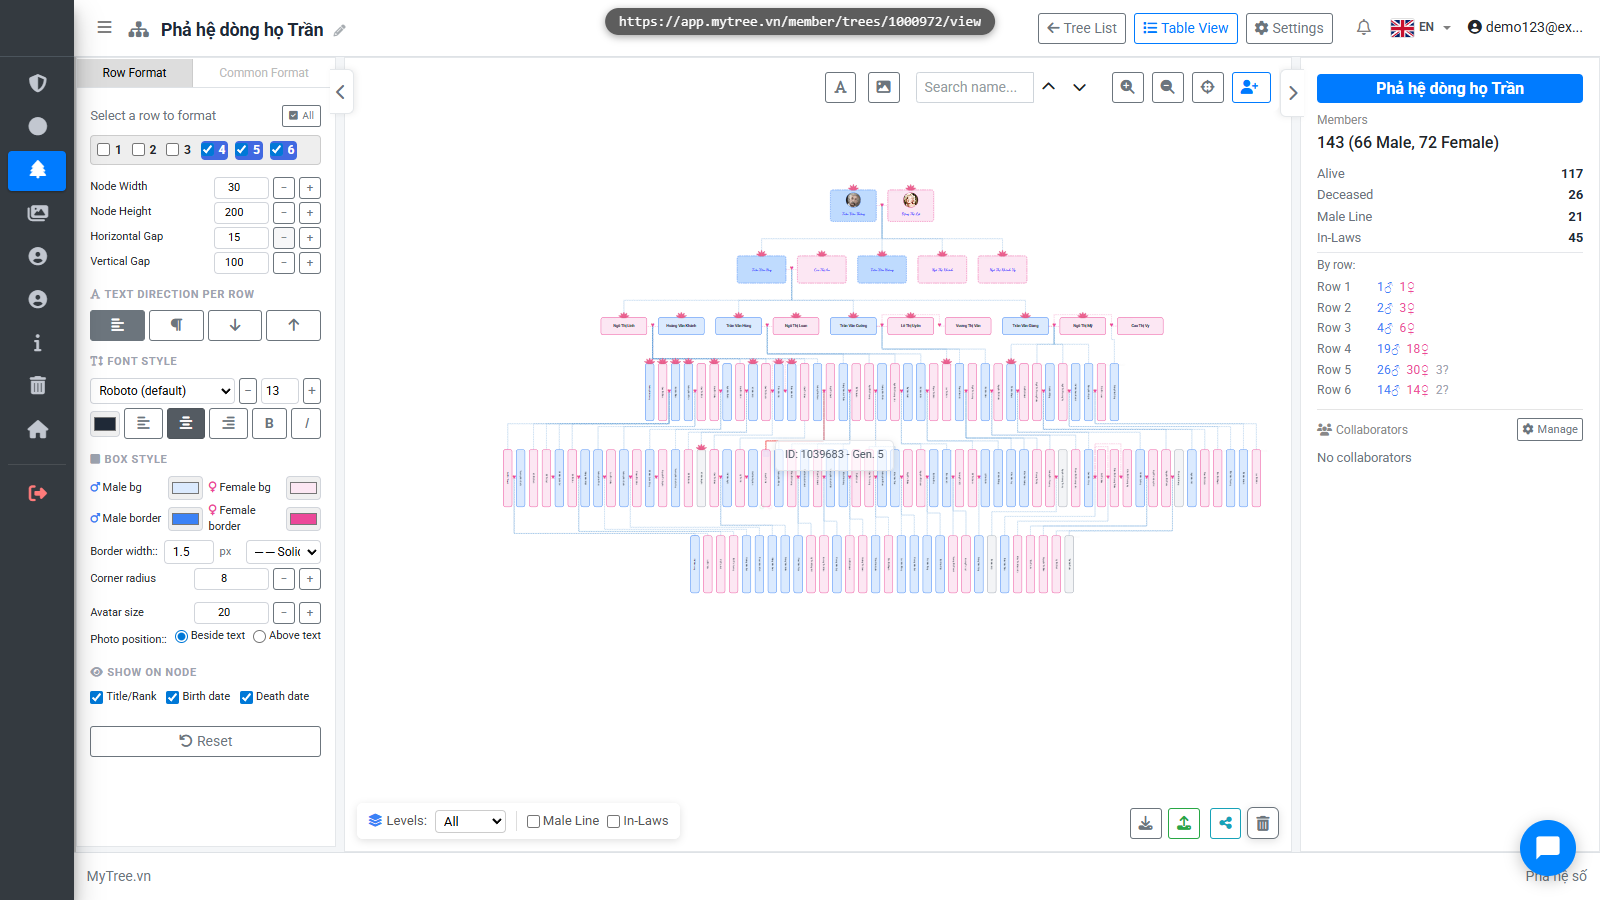
Step 8: Select All Rows
The Row Format tab lets you customize each row individually. Select a row to edit, or select all rows.
![]()
Step 9: Select All Rows
The Row Format tab lets you customize each row individually. Select a row to edit, or select all rows.
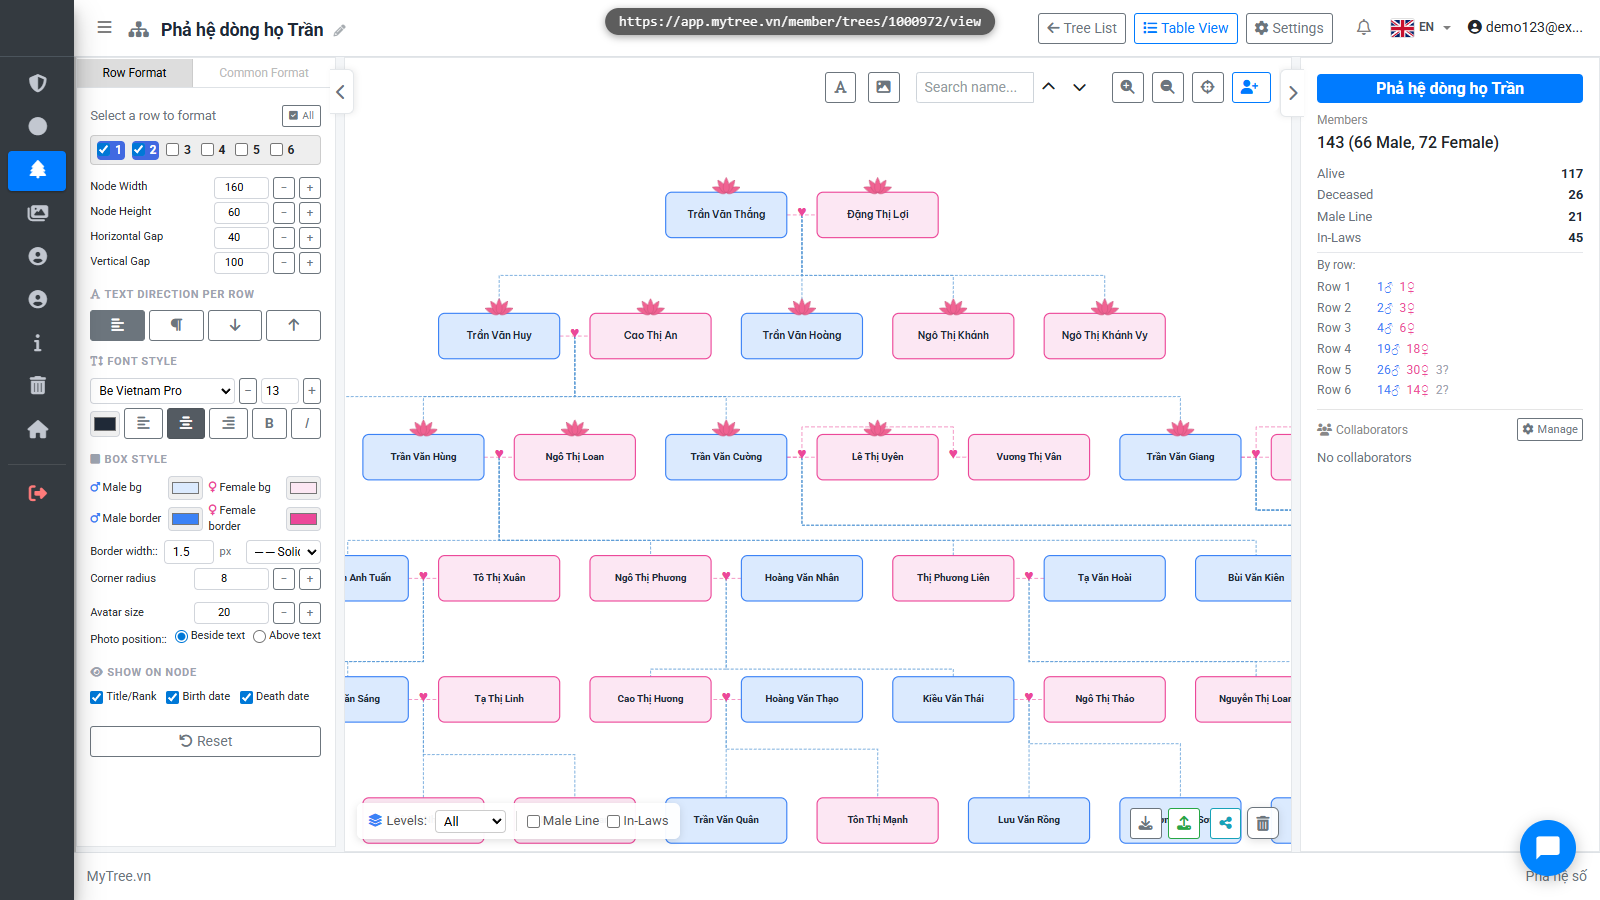
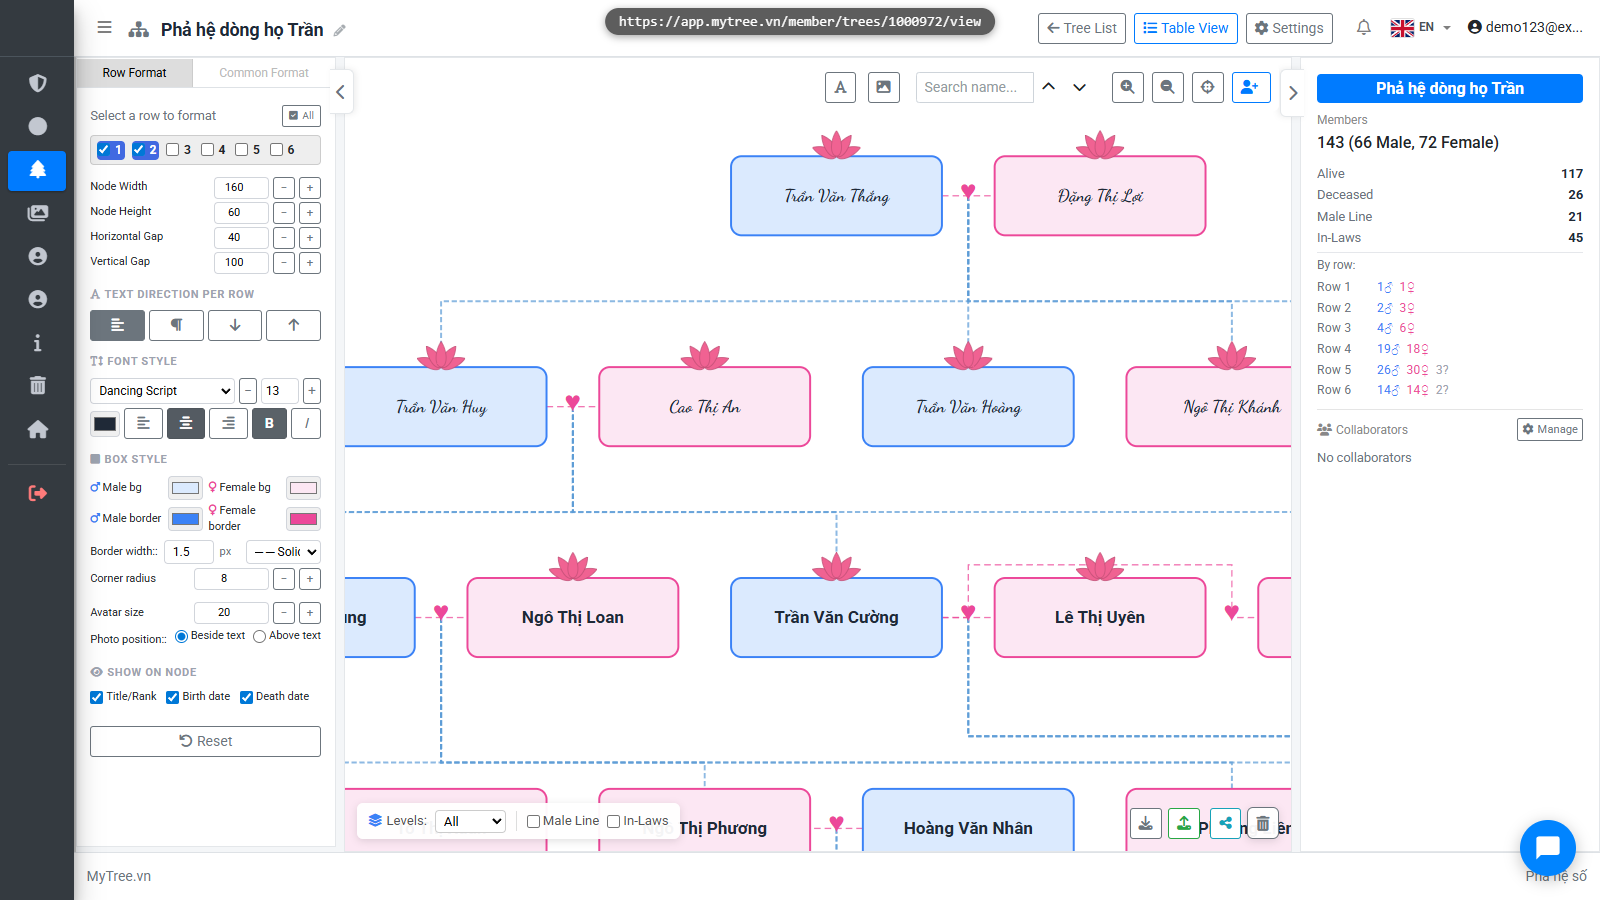
Step 10: Select Font
Choose a font for the selected row from the list. MyTree offers many beautiful fonts suited for genealogy.
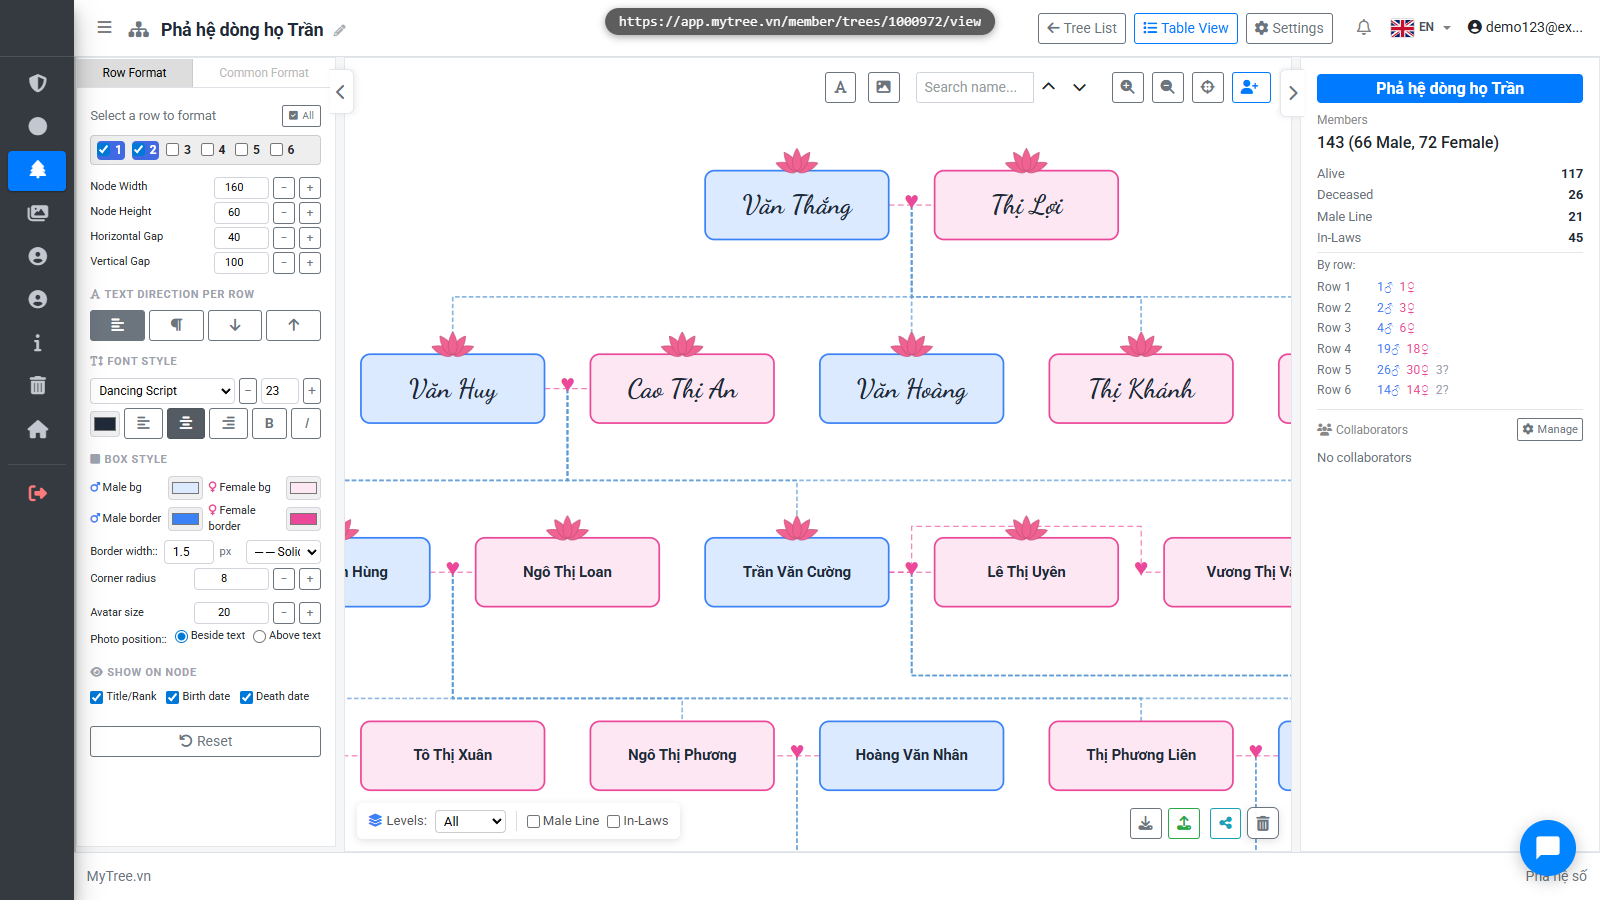
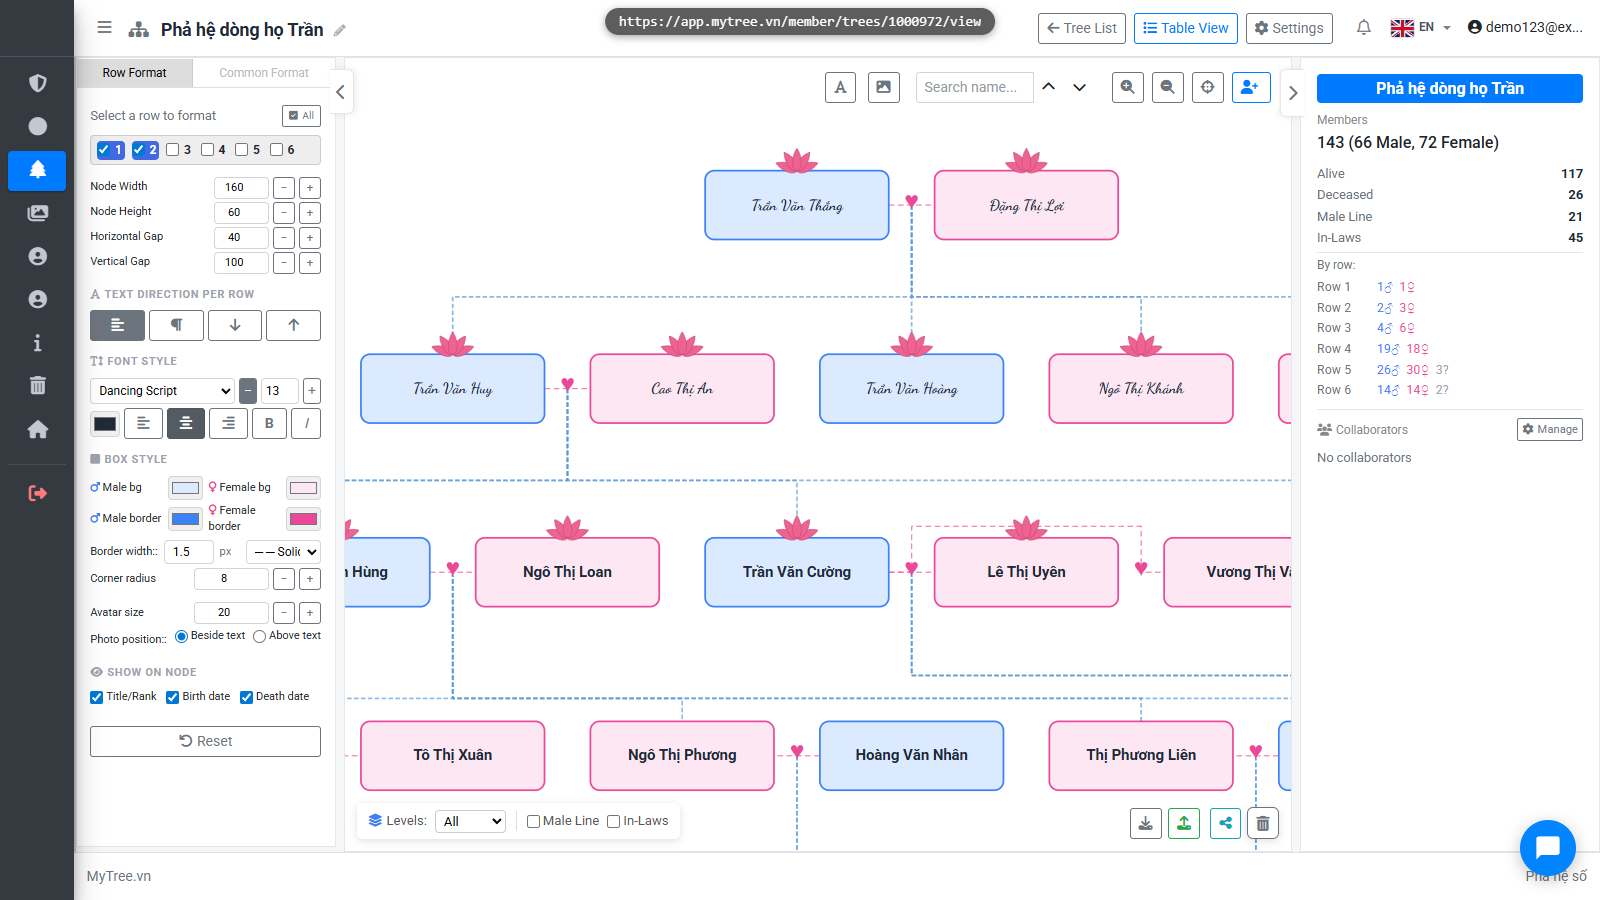
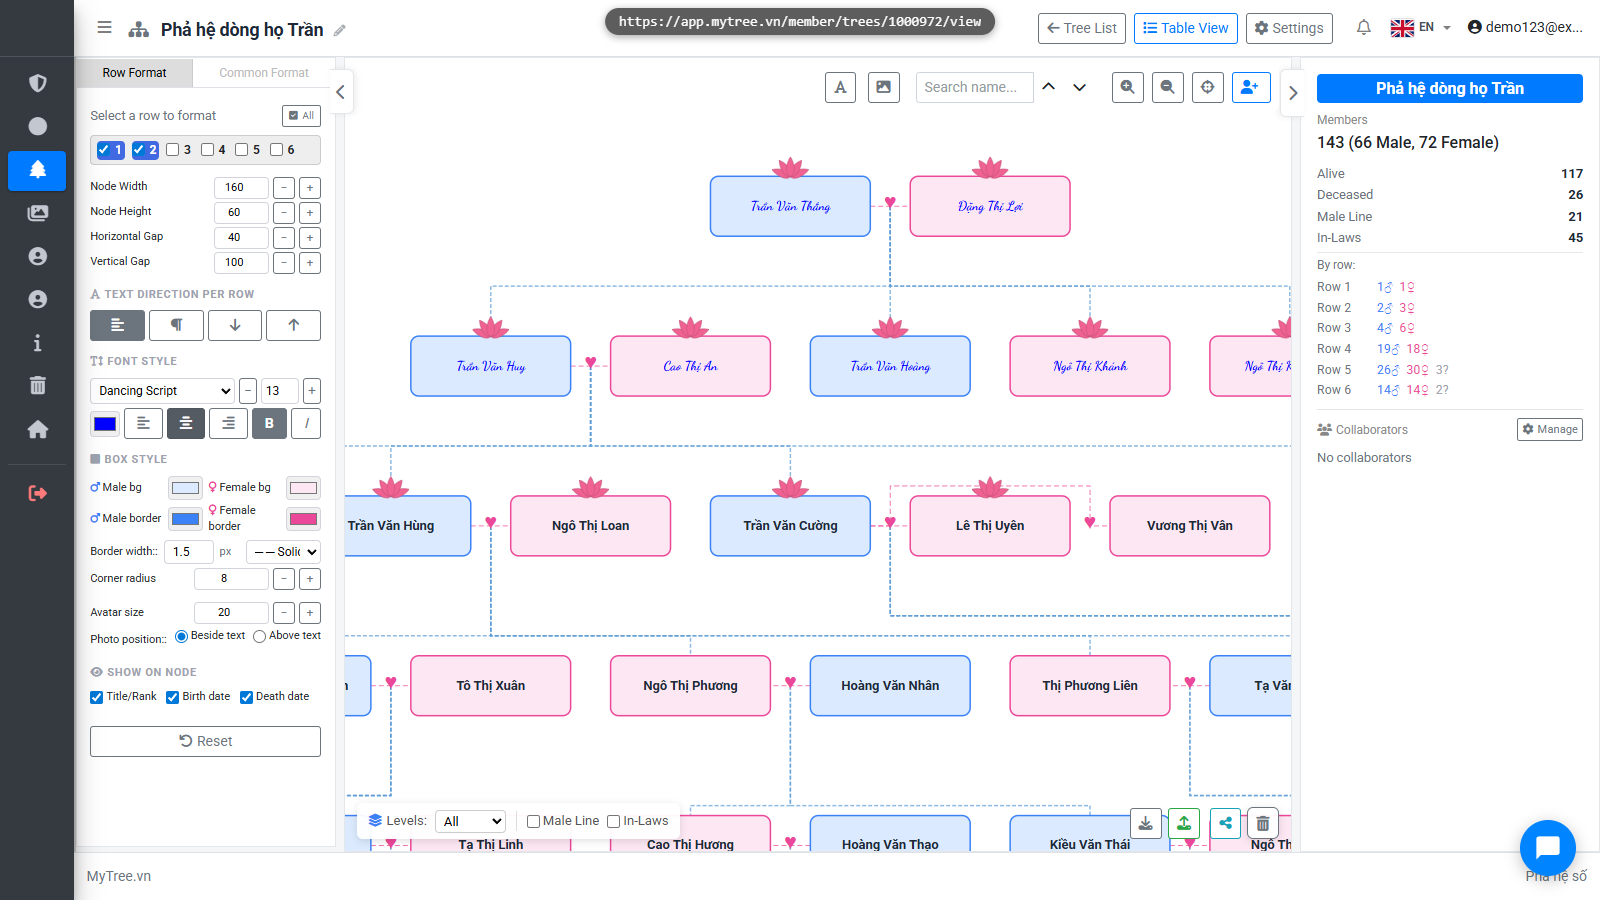
Step 11: Adjust Font Size
Increase or decrease the font size using the plus/minus buttons next to the number field.
![]()
Step 12: Adjust Font Size
Increase or decrease the font size using the plus/minus buttons next to the number field.
Step 13: Adjust Font Size
Increase or decrease the font size using the plus/minus buttons next to the number field.
![]()
Step 14: Adjust Font Size
Increase or decrease the font size using the plus/minus buttons next to the number field.
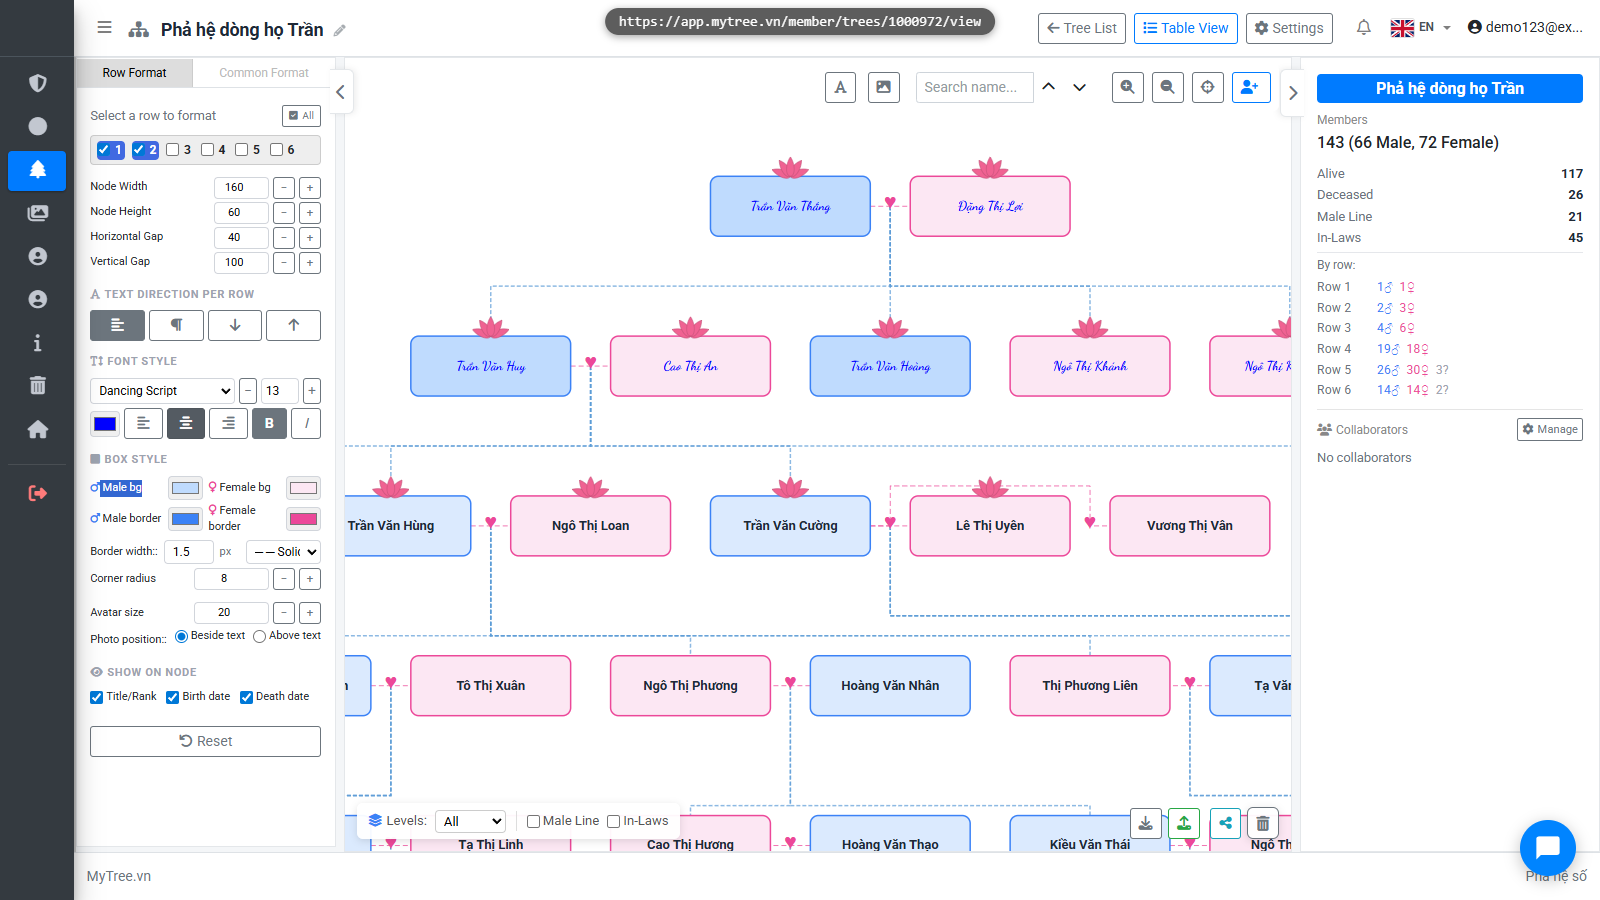
Step 15: Bold Text
Click B for bold, I for italic. The style applies to the selected rows.
![]()
Step 16: Bold Text
Click B for bold, I for italic. The style applies to the selected rows.
Step 17: Text Color
Choose a text color using the color picker — for example, change it to blue.
Step 18: Member Box Colors
Change the background color for male and female boxes to make them easier to distinguish on the tree.
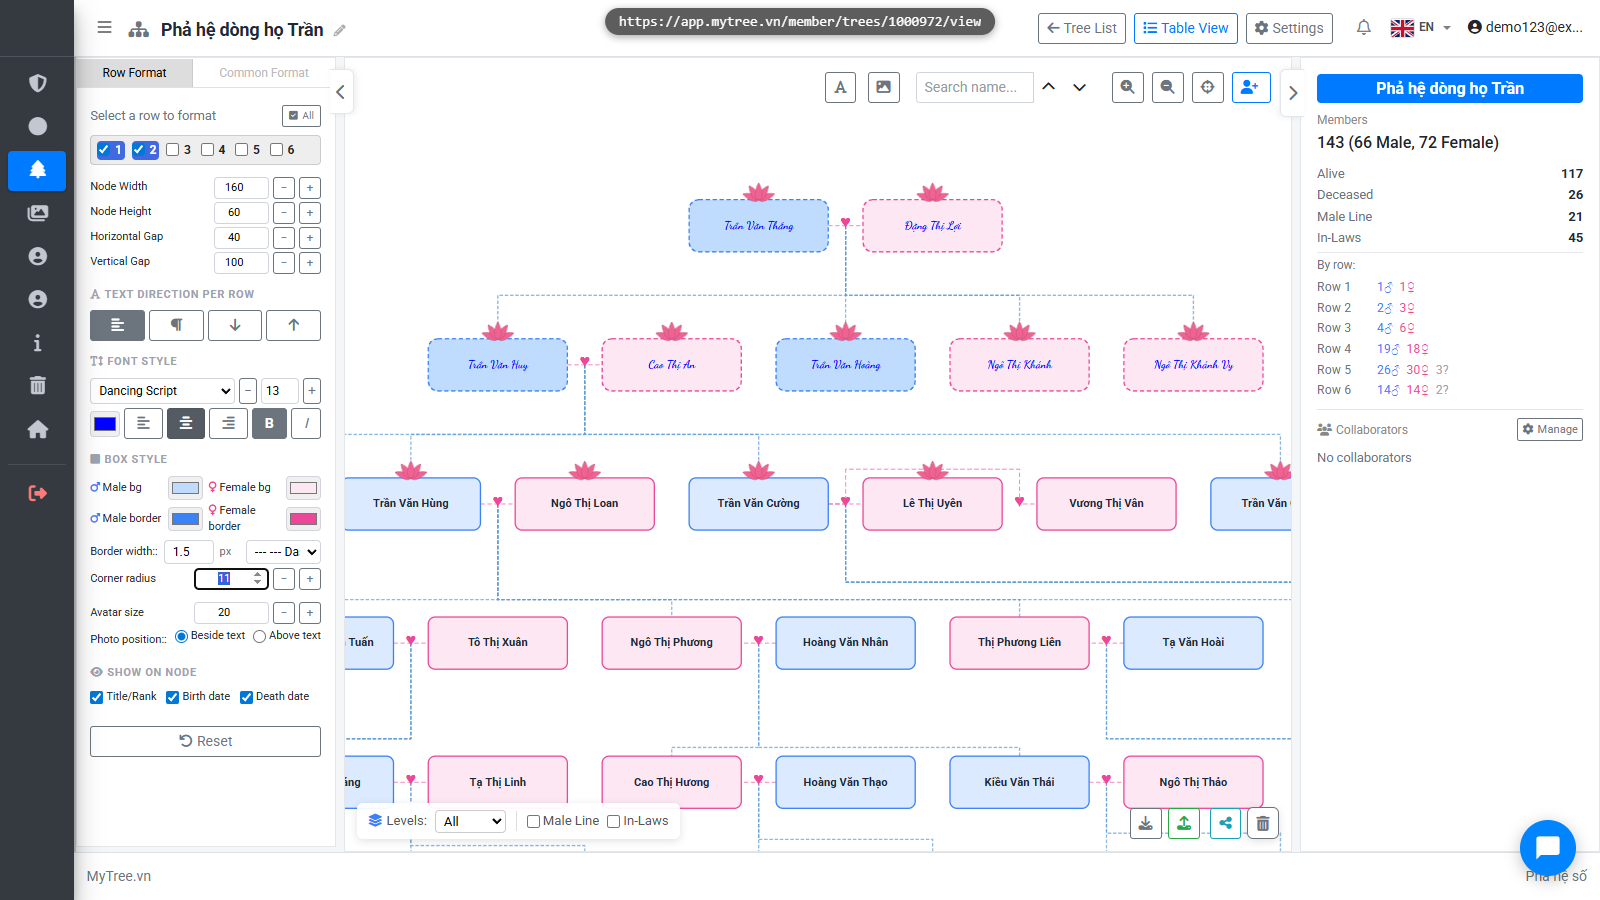
Step 19: Box Border Style
Adjust the border color, style, and corner radius to give the tree its own look — a large radius can even create oval or circular shapes!
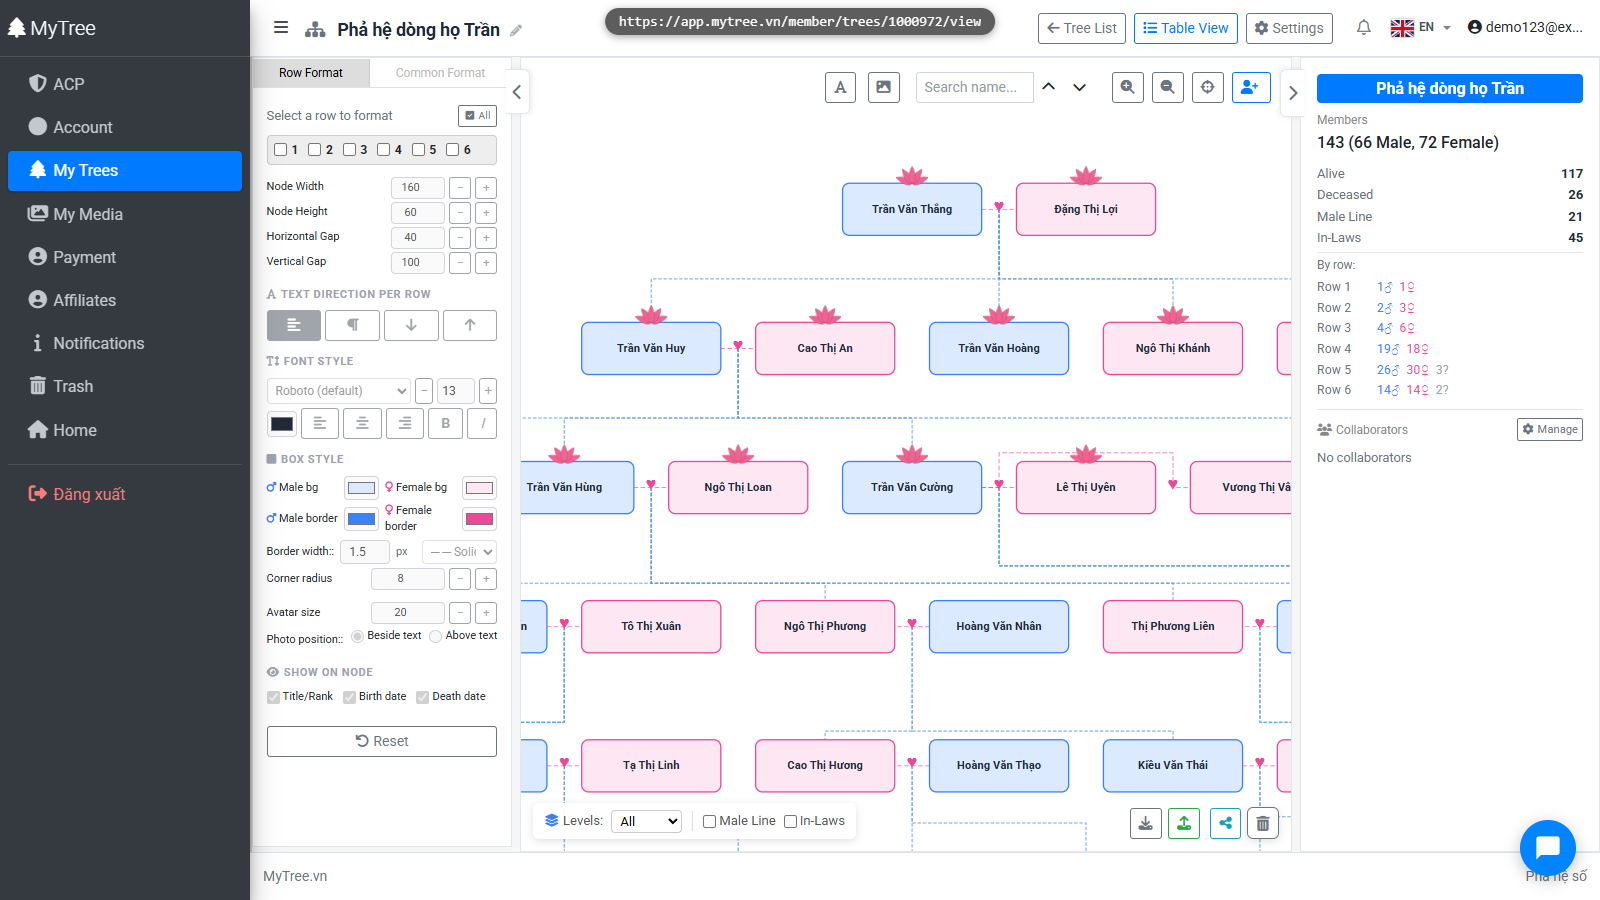
Step 20: Member Box Size
Adjust box width, height, and spacing between boxes using the plus/minus buttons, and the vertical gap between rows.
![]()
Step 21: Member Box Size
Adjust box width, height, and spacing between boxes using the plus/minus buttons, and the vertical gap between rows.
Step 22: Member Profile Photo
Each member can have a profile photo. Click on a box in the tree, then open the edit form to choose an image from your computer.

Step 23: Member Profile Photo
Each member can have a profile photo. Click on a box in the tree, then open the edit form to choose an image from your computer.
![]()
Step 24: Member Profile Photo
Each member can have a profile photo. Click on a box in the tree, then open the edit form to choose an image from your computer.
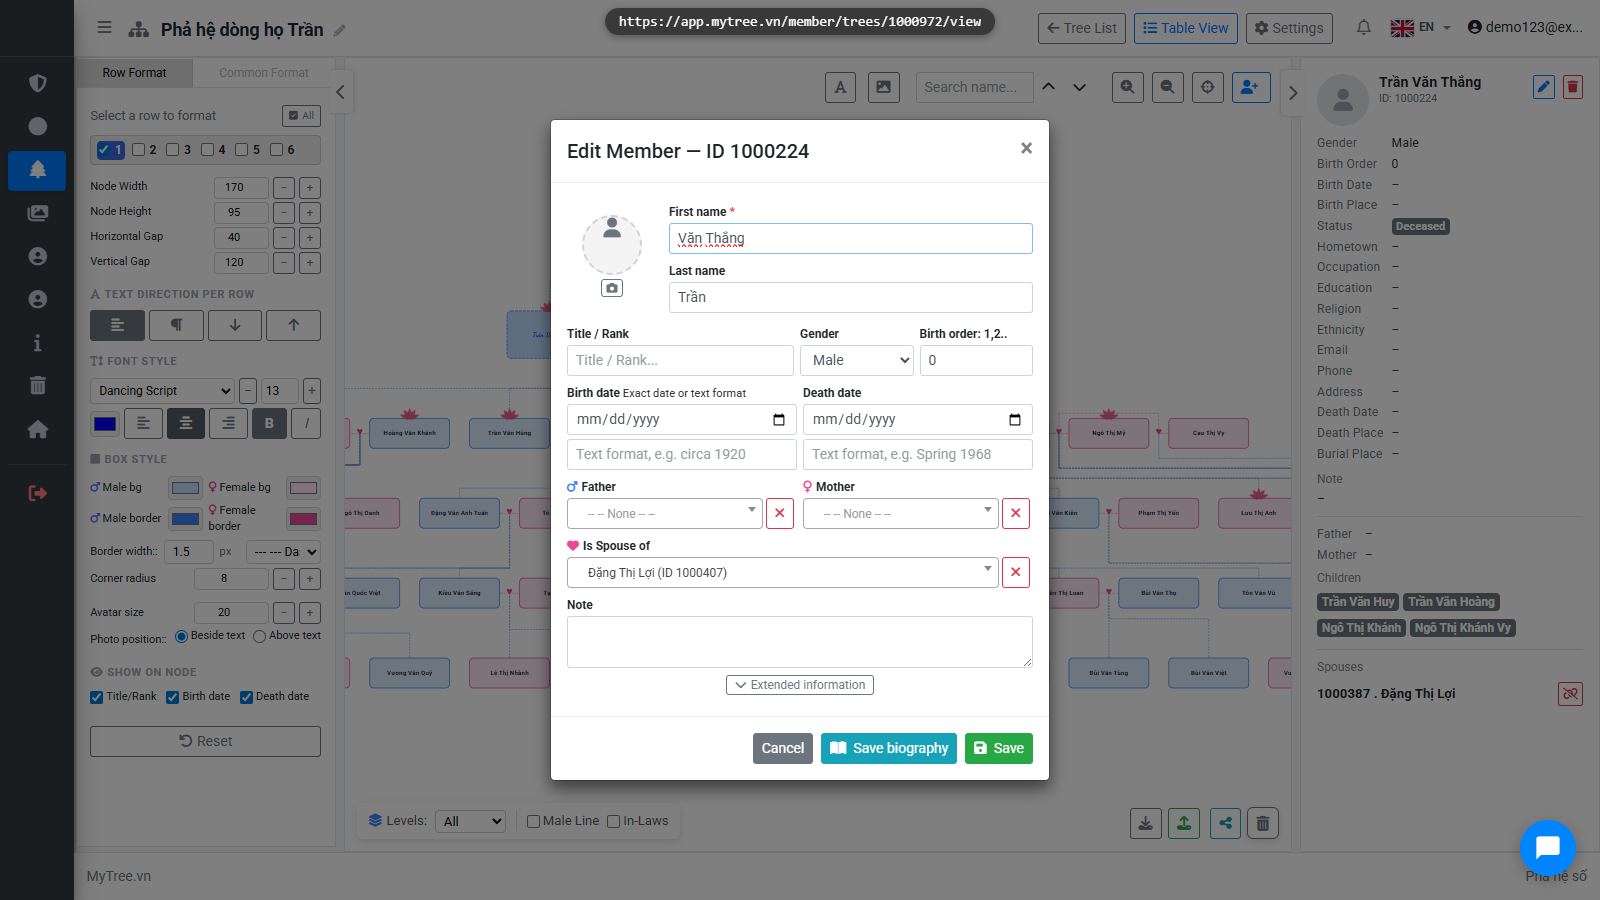
Step 25: Member Profile Photo
Each member can have a profile photo. Click on a box in the tree, then open the edit form to choose an image from your computer.
![]()
Step 26: Member Profile Photo
Each member can have a profile photo. Click on a box in the tree, then open the edit form to choose an image from your computer.
![]()
Step 27: Member Profile Photo
Each member can have a profile photo. Click on a box in the tree, then open the edit form to choose an image from your computer.
![]()
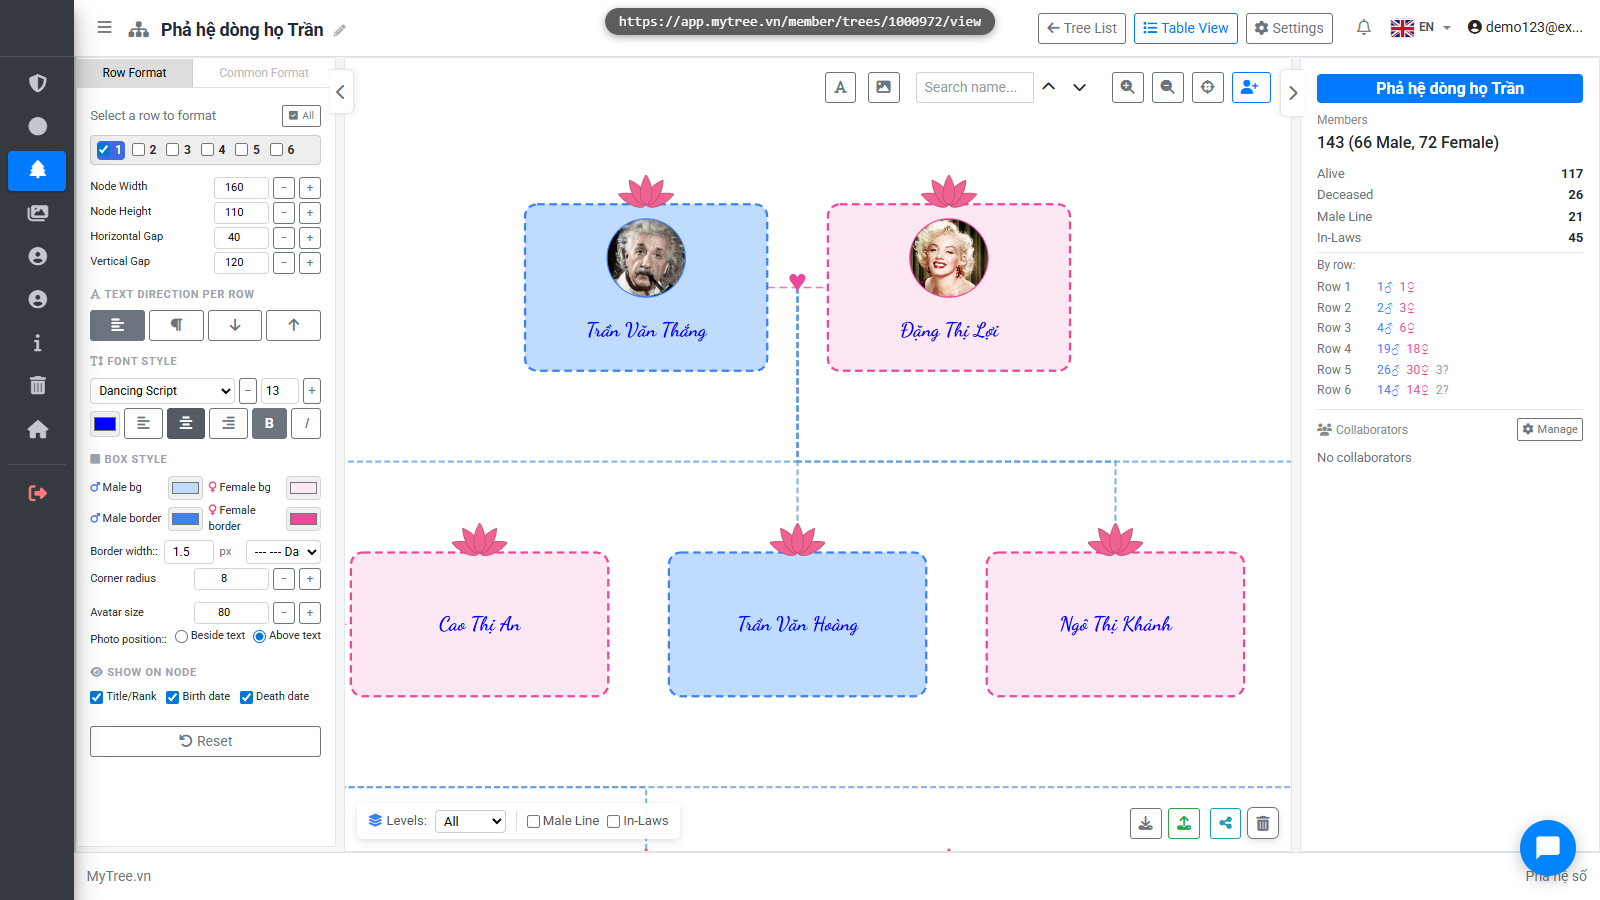
Step 28: Profile Photo Position
You can place the photo beside the text or above it, and adjust the box size accordingly.
![]()
Step 29: Profile Photo Position
You can place the photo beside the text or above it, and adjust the box size accordingly.
![]()
Step 30: You can choose text direction — horizontal, vertical, or auto-wrap if the text i
You can choose text direction — horizontal, vertical, or auto-wrap if the text is too long.
Step 31: For overall layout, if you want to print on A0 paper for example, you'll notice
For overall layout, if you want to print on A0 paper for example, you'll notice the bottom rows are very wide. Select just the last three rows to compress them. Set text direction to vertical; reduce box width to about 40; increase height to 200, and reduce horizontal spacing.
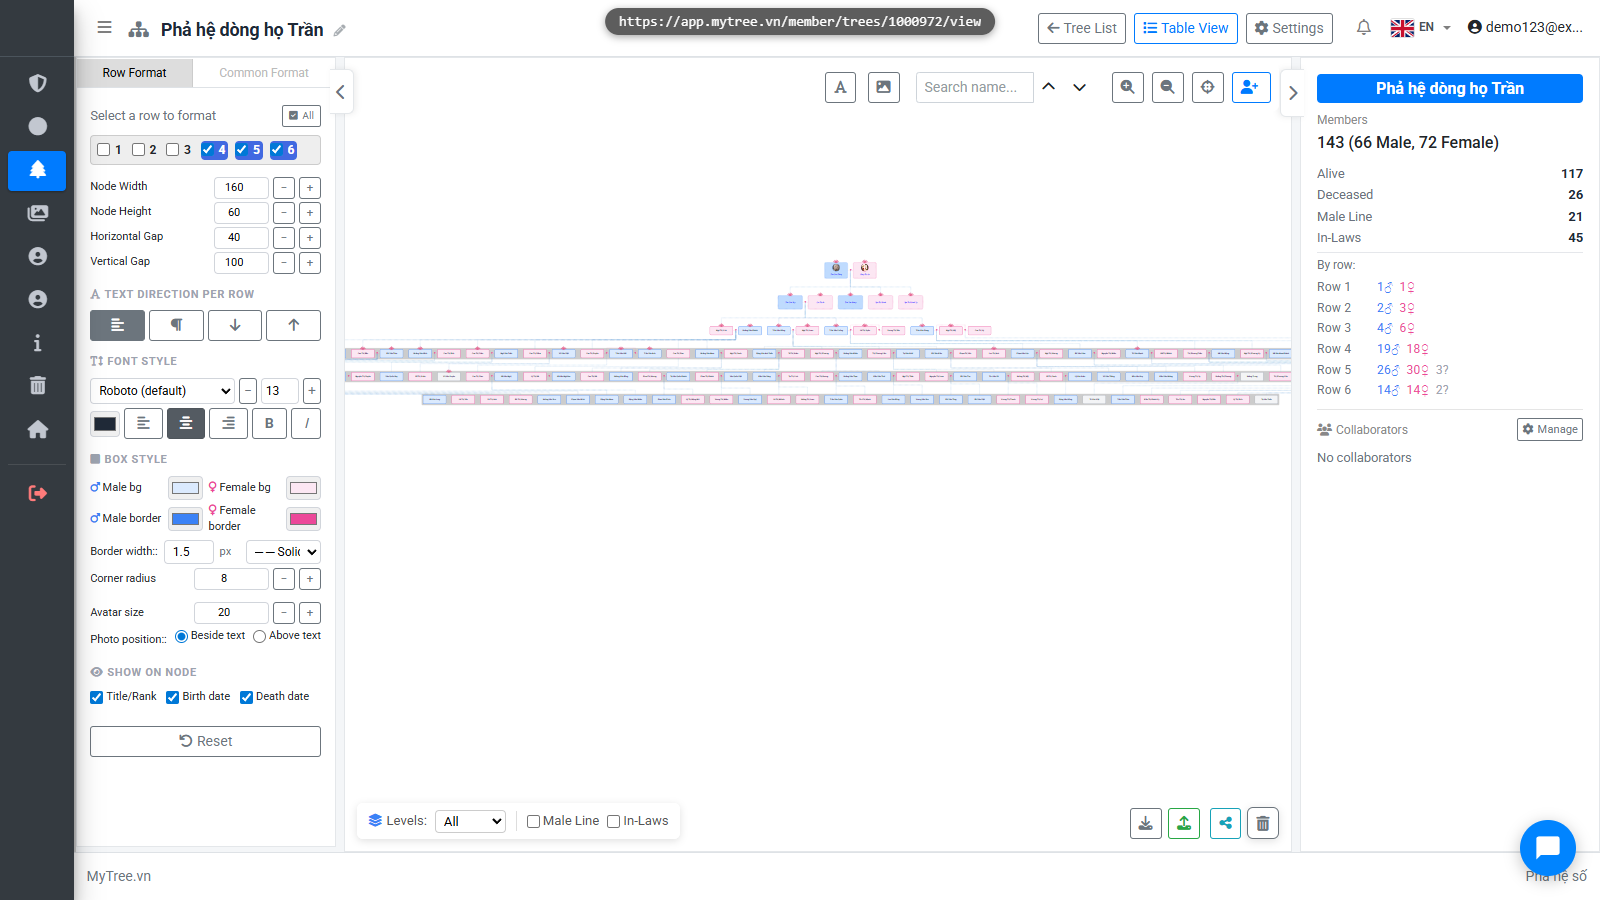
Step 32: For overall layout, if you want to print on A0 paper for example, you'll notice
For overall layout, if you want to print on A0 paper for example, you'll notice the bottom rows are very wide. Select just the last three rows to compress them. Set text direction to vertical; reduce box width to about 40; increase height to 200, and reduce horizontal spacing.
![]()
Step 33: For overall layout, if you want to print on A0 paper for example, you'll notice
For overall layout, if you want to print on A0 paper for example, you'll notice the bottom rows are very wide. Select just the last three rows to compress them. Set text direction to vertical; reduce box width to about 40; increase height to 200, and reduce horizontal spacing.
Step 34: Common Format Tab
Now we have a layout that works for A0, A1, or A4 printing. Switch to the General Format tab to adjust connector line colors and thickness for parent-child and spouse connections.
![]()
Step 35: Common Format Tab
Now we have a layout that works for A0, A1, or A4 printing. Switch to the General Format tab to adjust connector line colors and thickness for parent-child and spouse connections.
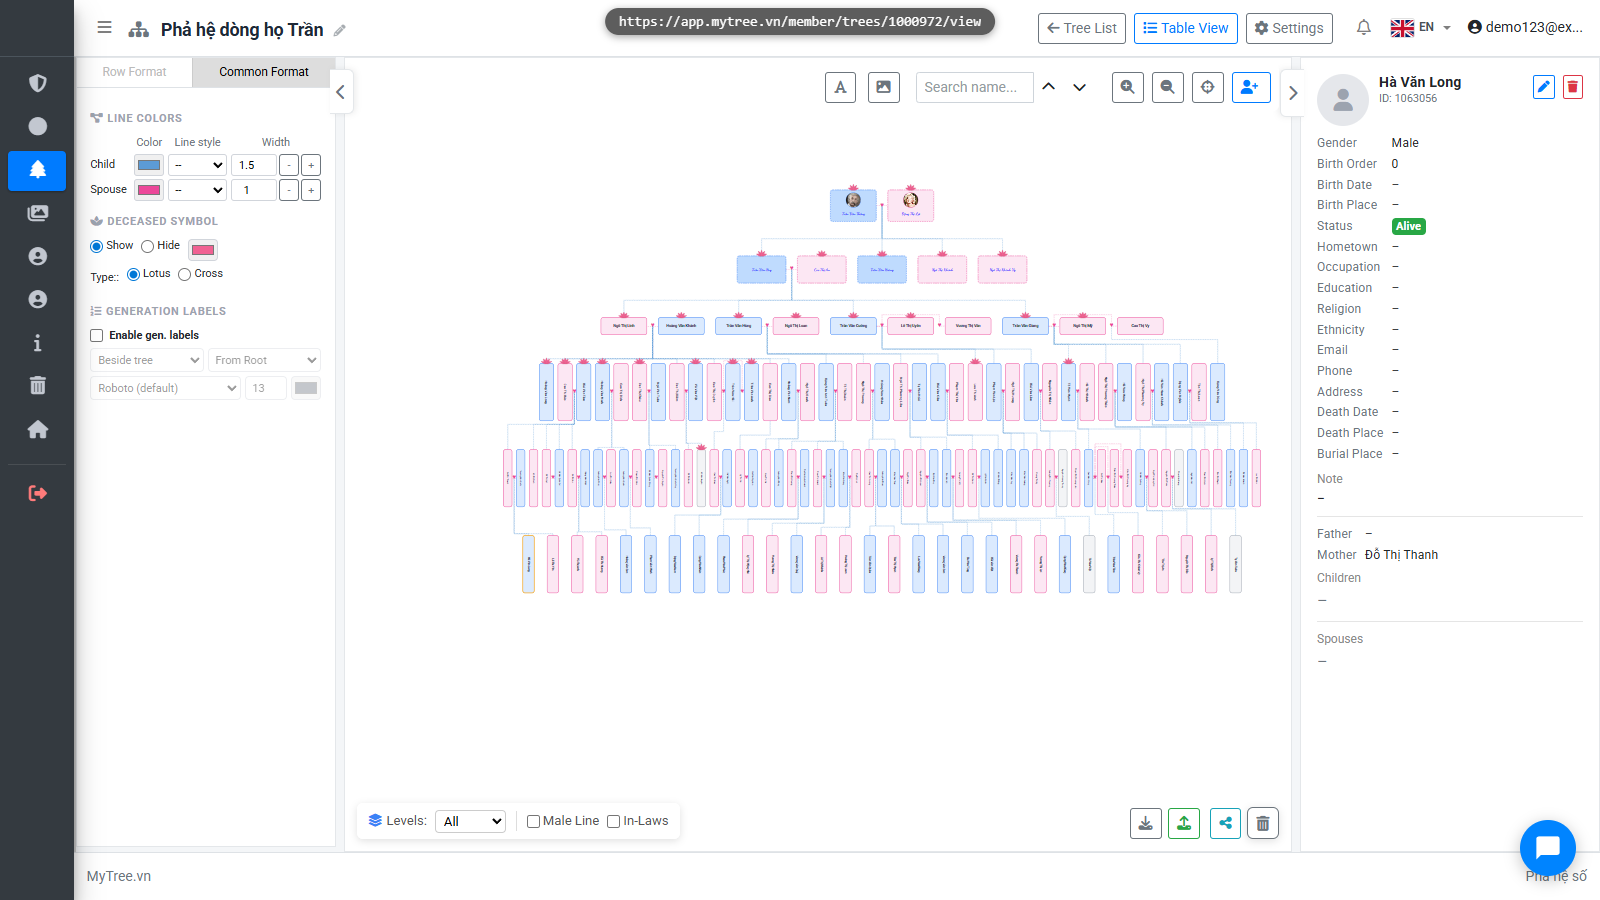
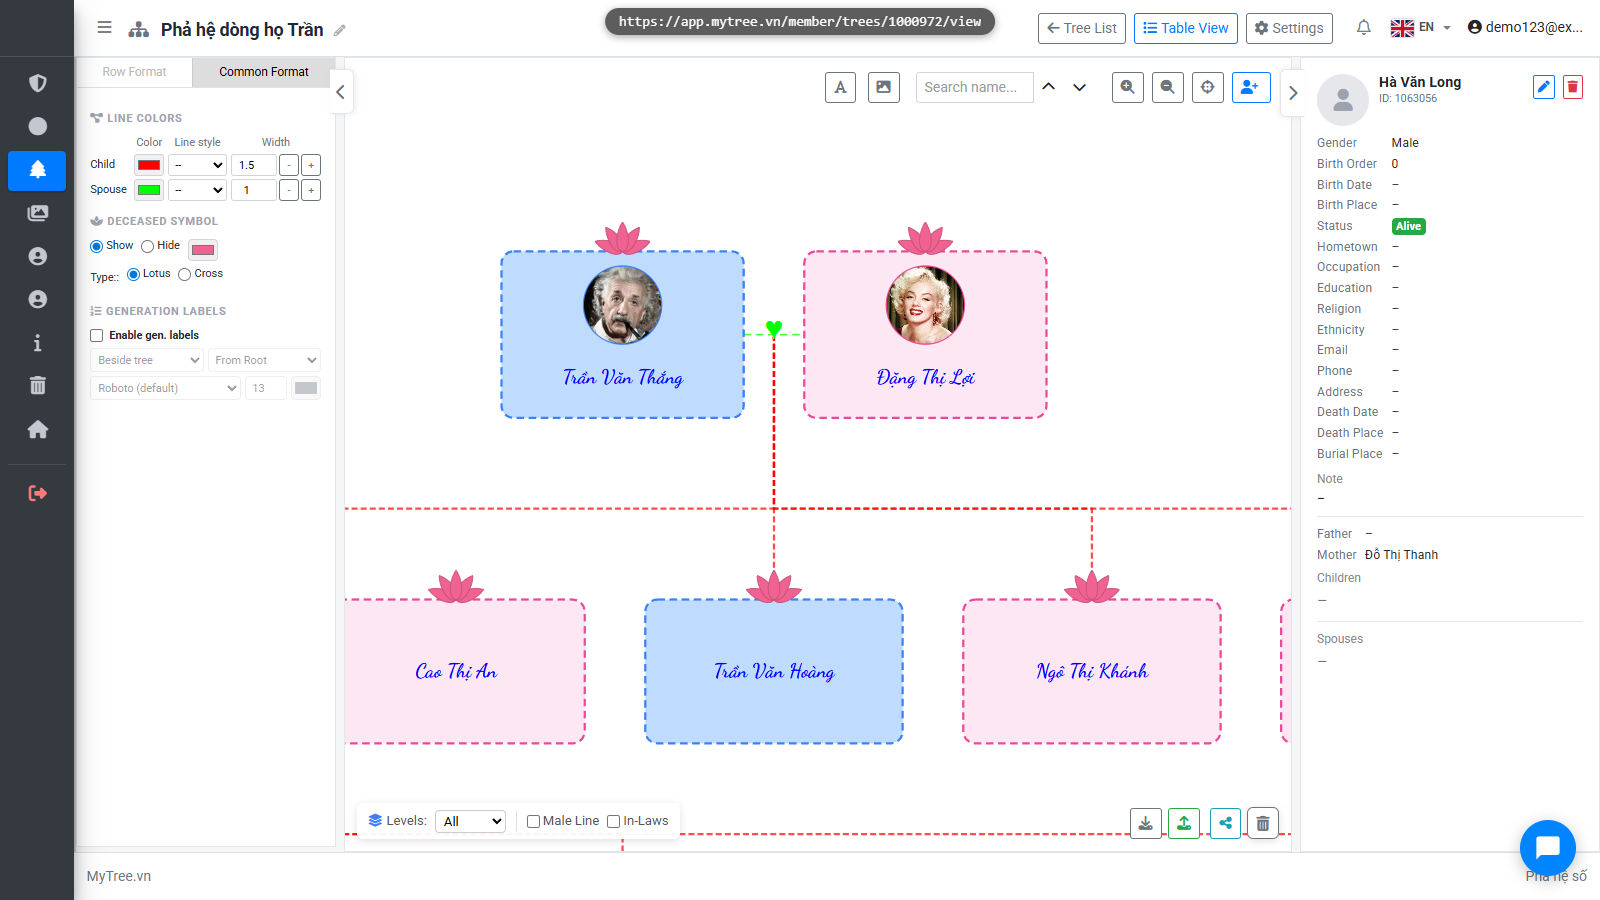
Step 36: Link Colors
Parent-child and spouse connector lines can each have their own color.
Step 37: You can enable generation labels at the start of each row, and customize the fon
You can enable generation labels at the start of each row, and customize the font size, color, style, and position — aligned to the row start or next to the first member.

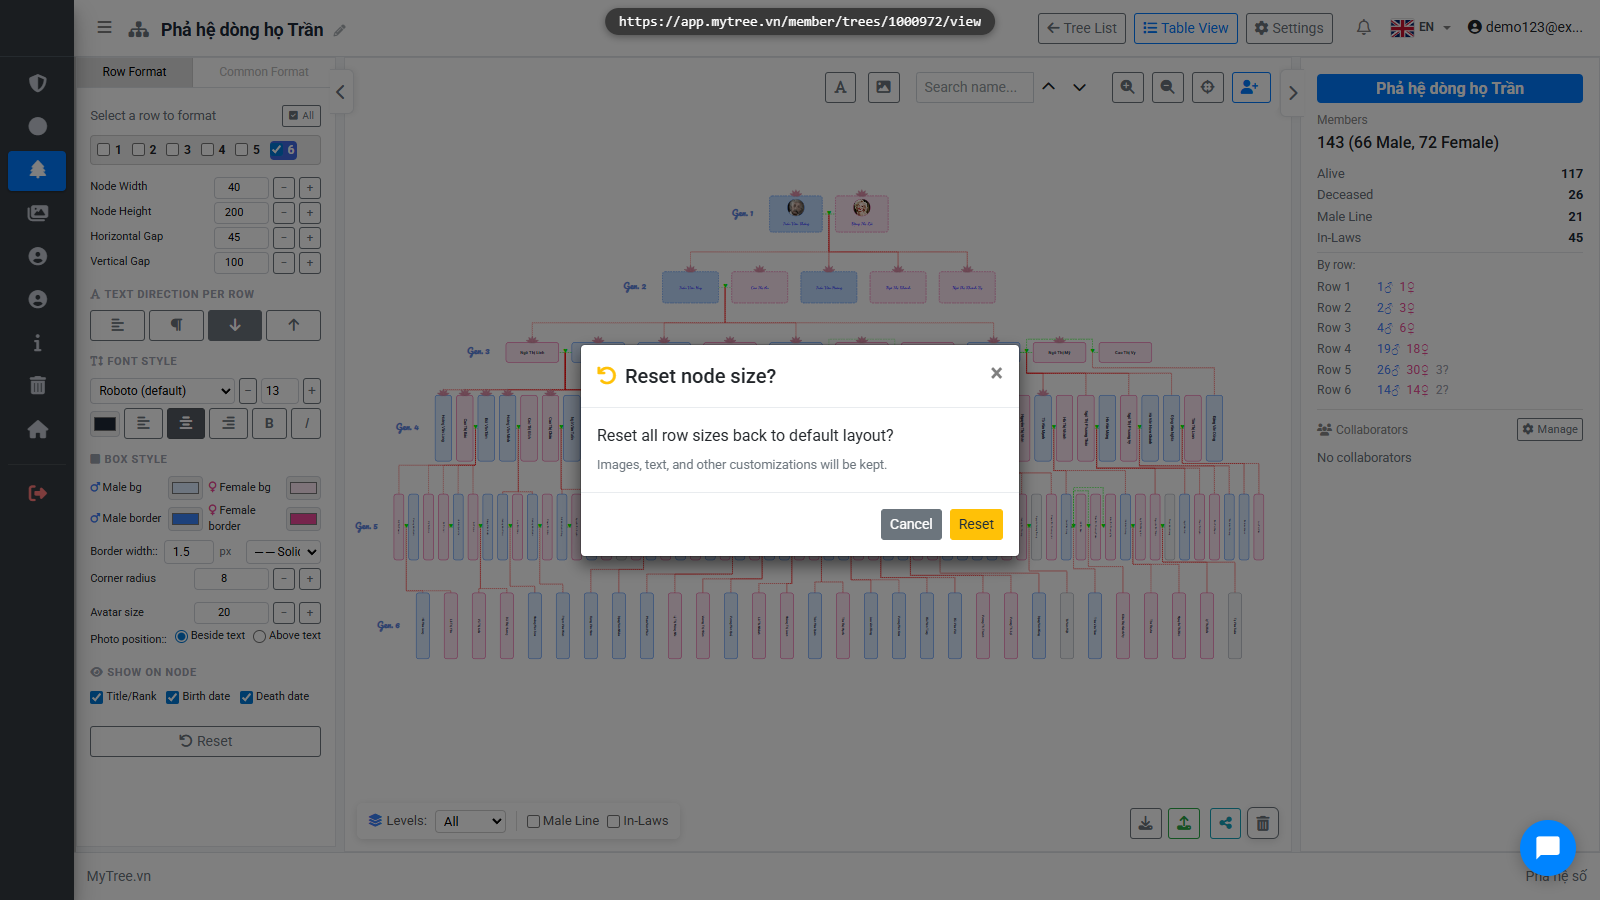
Step 38: Finally, if you want to undo all recent changes, click the Default button to res
Finally, if you want to undo all recent changes, click the Default button to reset all row size settings to their original values.
![]()
Step 39: Finally, if you want to undo all recent changes, click the Default button to res
Finally, if you want to undo all recent changes, click the Default button to reset all row size settings to their original values.